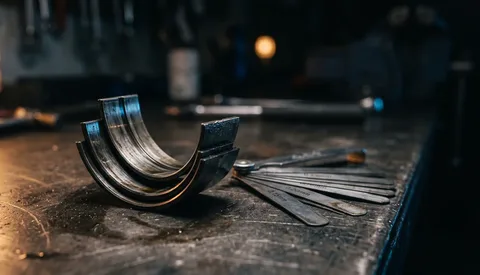
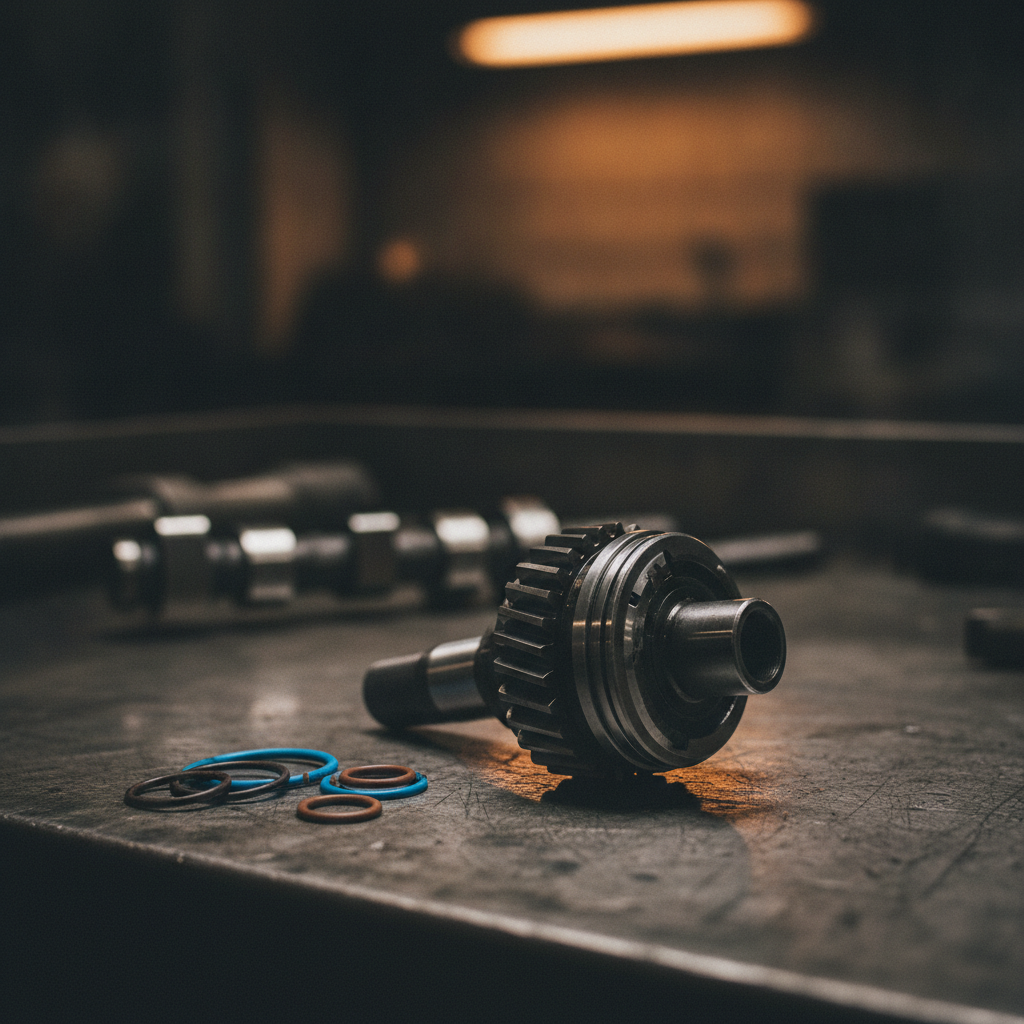
The E36 328i and 323i with the M52 (up to the 1998 update) use single VANOS: the intake camshaft timing is varied, the exhaust is fixed. The unit works the same way as on the M50TU and fails the same way: with age, the original O-ring on the VANOS piston hardens and shrinks, the piston can no longer hold oil pressure, and the engine loses response below about 3,000 rpm. This guide covers the M52 specifics; for how VANOS works and the BMW test procedure, see the M50TU VANOS guide.
TL;DR
| What: | Resealing the M52 single VANOS with an aftermarket seal kit. |
| Why: | To restore low-rpm response and a stable idle lost to hardened piston seals. |
| Time: | A long day for a first-time DIY. |
| Difficulty: | 3/5, but only with the BMW locking tools or exact equivalents. |
Symptoms
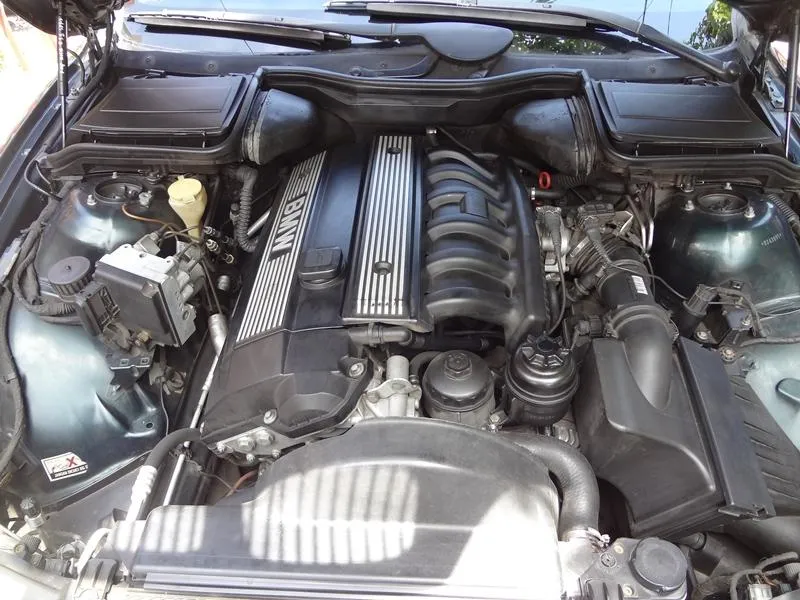
The decline is gradual, so it is easy to put down to age:
- flat response below about 3,000 rpm, with hesitation or bogging when pulling away
- rough or unstable idle
- a stored VANOS fault: on OBD2 cars, P1519 is the code associated with this failure
Some units also rattle at the front of the cylinder head. That is a separate issue from seal wear, caused by play inside the unit; Beisan sells a separate rattle kit for it.
Before condemning the seals, rule out the other causes: a solenoid or control-unit fault, incorrect base timing, or a unit installed wrongly after earlier work on the sprockets. The BMW test (compressed air on the oil inlet, solenoid energized, at least 8.5 mm of travel) separates these. It is described in the M50TU VANOS guide.
Parts and tools
BMW does not sell the piston seals, only complete or rebuilt VANOS units. Aftermarket kits replace them:
| Part | Number | Notes |
|---|---|---|
| Single VANOS seal kit | Beisan Systems BS011 | Upgraded O-ring and new Teflon ring for M50TU, M52, US S50 and S52 single VANOS. |
| Single VANOS rattle kit | Beisan Systems BS012 | Only if the unit rattles. |
| VANOS-to-head gasket | BMW 11 36 1 740 840 | Metal gasket; fit a new one. |
| Cylinder head cover gasket set | look up by VIN | |
| Sealing washers for the oil line banjo bolt | look up by VIN | Never reuse them. |
Tools:
- crankshaft locking pin 11 2 300
- camshaft locking blocks 11 3 240
- chain tensioner lock pin 11 3 292 (a stiff wire or nail works)
- sprocket turning tool 11 5 490
- E-Torx sockets and a torque wrench
Complete M5x timing tool kits that contain the locking tools are sold by several tool makers.
Removal
Work on a completely cold engine.
- Remove the fan and shroud (the fan nut is left-hand thread), the engine covers, ignition coils and the cylinder head cover. Note how the cover bolt insulators are arranged. Remove the oil baffle above the intake camshaft.
- Turn the engine to TDC on cylinder 1: the cam lobes on cylinder 1 face each other, and the 0/T mark on the damper lines up with the boss on the timing cover. Lock the crankshaft with 11 2 300, and check that it really can’t turn.
- Lock the camshafts with 11 3 240 on their square rear ends. The tool must sit squarely on the head gasket surface; a 24 mm wrench on the camshaft hex helps line them up.
- Lock the chain tensioner: press it down and insert the lock pin. The tensioner stays in the head.
- Disconnect the solenoid connector and the oil line, then remove the two access plugs in front of the exhaust sprocket and loosen the exhaust sprocket bolts.
- Remove the VANOS mounting nuts and bolt, turn the sprockets with 11 5 490 to give the shaft room to come out, and pull the unit off.
Resealing on the bench
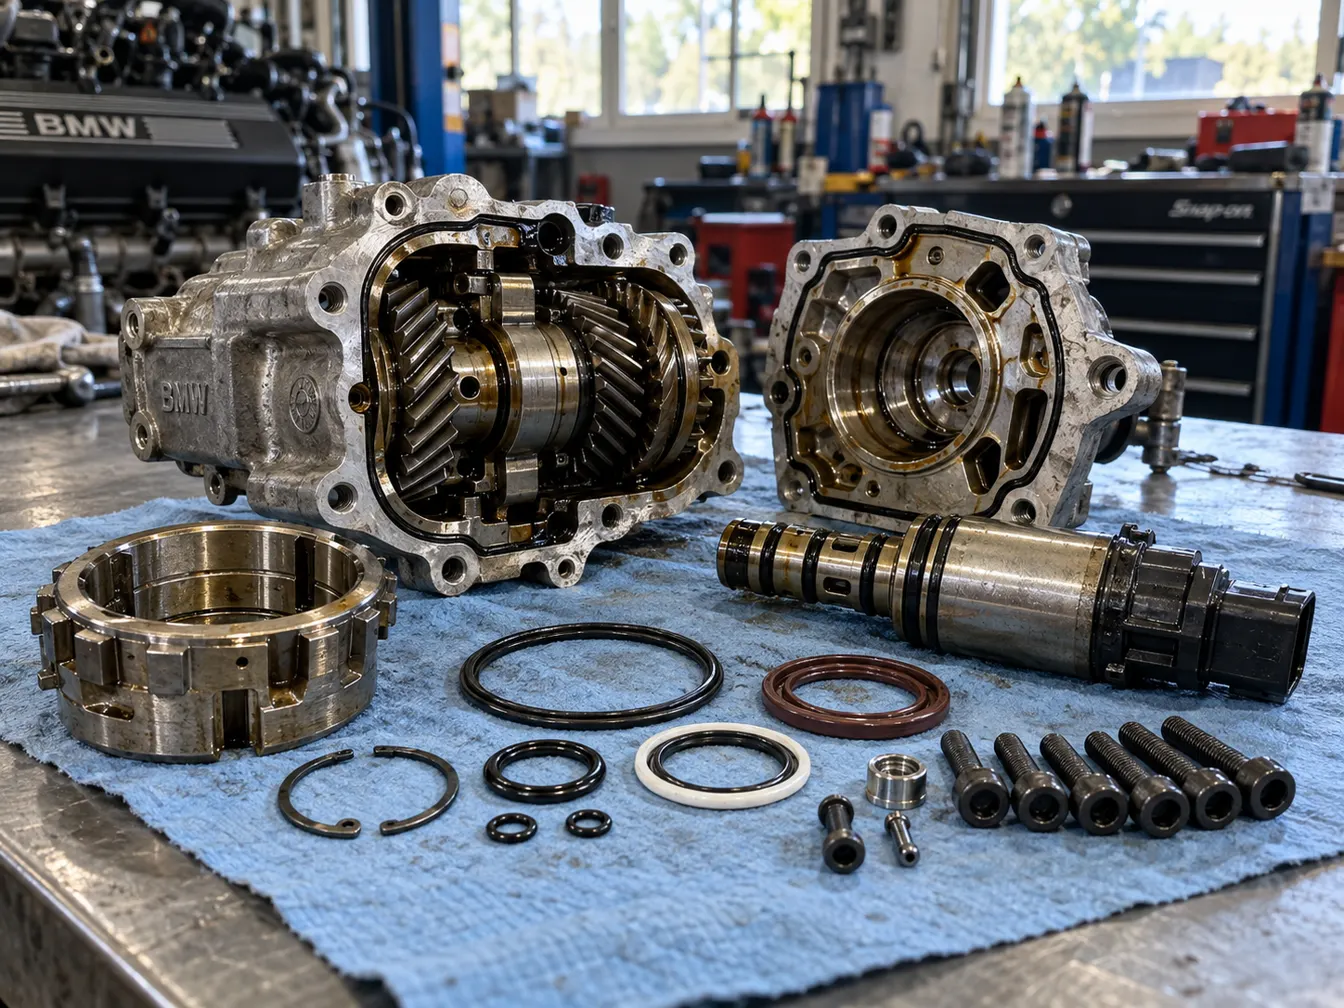
- Remove the cover bolts and take out the piston and splined shaft. Drain the oil.
- Cut the old O-ring and Teflon ring out of the piston groove with a sharp knife, without scoring the groove. Clean everything.
- Fit the new O-ring first, then the new Teflon ring over it. The Teflon ring is stiff when cold: the kit instructions say to warm it in water first, start it into the groove at an angle and roll it in.
- If you are fitting the rattle kit, do it now, following its own instructions.
- Reassemble the unit and refit the cover.
Refitting and checking the timing
- Fit a new VANOS gasket to the head.
- Seat the unit using Beisan’s “smart teeth” method. Rotate the helical shaft to find the first tooth position where it slides into the intake gear without force, then press the unit onto the head with the heel of your hand. Never draw it on with the nuts.
- Tighten the mounting nuts and bolt, the exhaust sprocket bolts and the access plugs to the values below. Refit the oil line with new washers and reconnect the solenoid.
- Remove the tensioner lock pin and all locking tools. Turn the engine through two full revolutions by hand, then refit the crankshaft pin and camshaft blocks. If the blocks don’t seat easily and flat, the timing is off: start again. Don’t skip this check.
- Refit the cylinder head cover and the rest in reverse order.
Beisan notes that the engine needs about 100 miles (160 km) of driving, mostly in town, before the new seals settle in.
Torque values (Bentley)
| Fastener | Torque |
|---|---|
| VANOS control unit to cylinder head, M6 nut | 10 Nm |
| VANOS control unit to cylinder head, M8 bolt | 22 Nm |
| Exhaust camshaft sprocket bolts (M7 Torx) | 5 Nm, then 22 Nm |
| Access plugs in the control unit | 50 Nm |
| VANOS oil line banjo bolt | 32 Nm |
| VANOS solenoid | 30 Nm |
| Cylinder head cover | 10 Nm |
Beisan’s instructions quote slightly lower figures for some of these. The values above are Bentley’s factory figures.
What’s next?
With the cylinder head cover off, check the spark plugs and the cover gasket, and look at the oil filter housing gasket if it weeps. If the engine still feels flat after a successful reseal, check the base timing and the camshaft position sensor.