TL;DR
- What: Replace the cooling system’s wear parts in one go: water pump, thermostat, expansion tank and cap, hoses, clamps, and the radiator and fan clutch if they’re tired.
- Why: On a 25-plus-year-old E36 these parts are all the same age. When one fails, the others usually aren’t far behind, and an overheated M50 can mean a warped head.
- Time: About a day with the engine in the car, less with the engine out on a stand.
- Difficulty: 3/5
Why the whole system at once
Overheating stories on E36 forums tend to follow one pattern: the water pump gets replaced, and a few months later the expansion tank splits or a hose bursts. Much of the system is plastic, and after 25 years of heat cycles every original part is near the end of its life. Replacing everything in one session costs a weekend; an overheated engine costs far more.
Bentley’s own maintenance schedule recommends replacing the cooling hoses every four years as a preventive measure.
Our approach: Since we’re doing an M50 swap with the engine on a stand, every cooling component goes on new before the engine goes into the car.
What to replace
Replace regardless of condition:
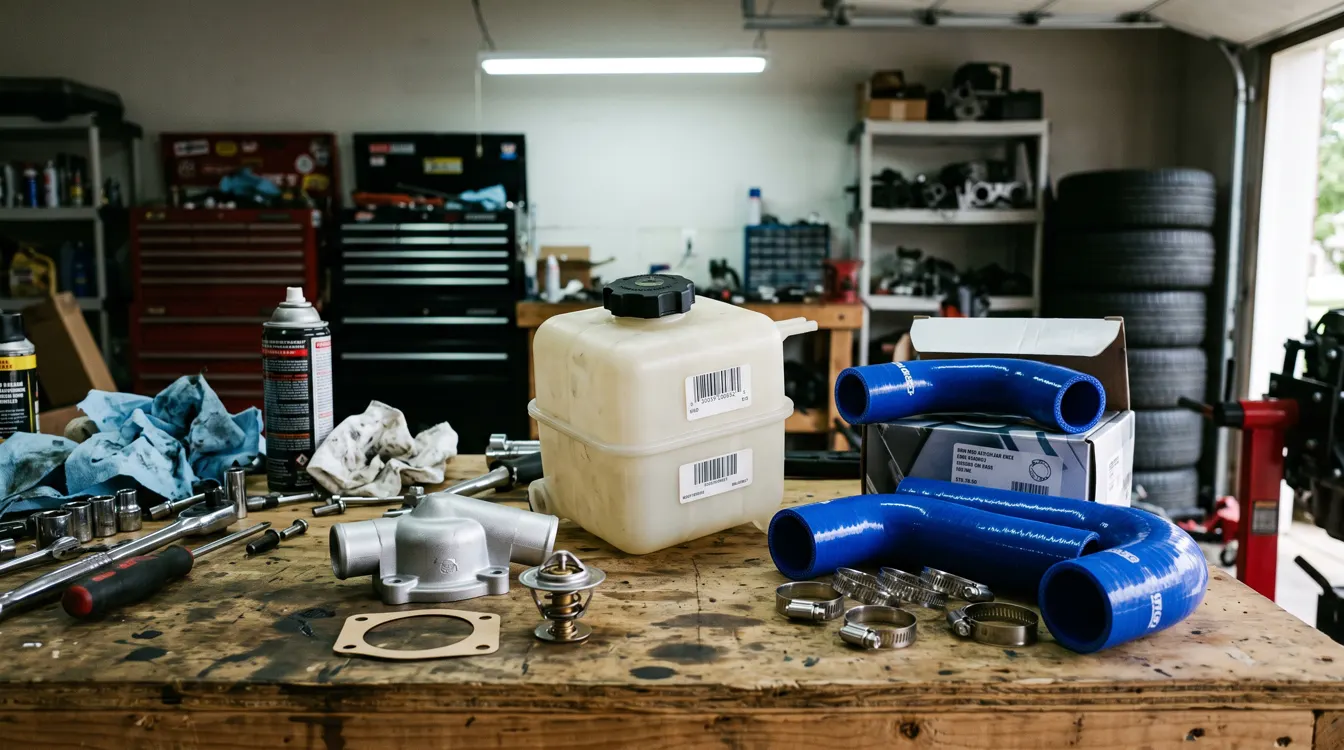
- water pump (with its gasket or O-ring); choose a pump with a metal impeller, because the plastic-impeller originals are a known failure
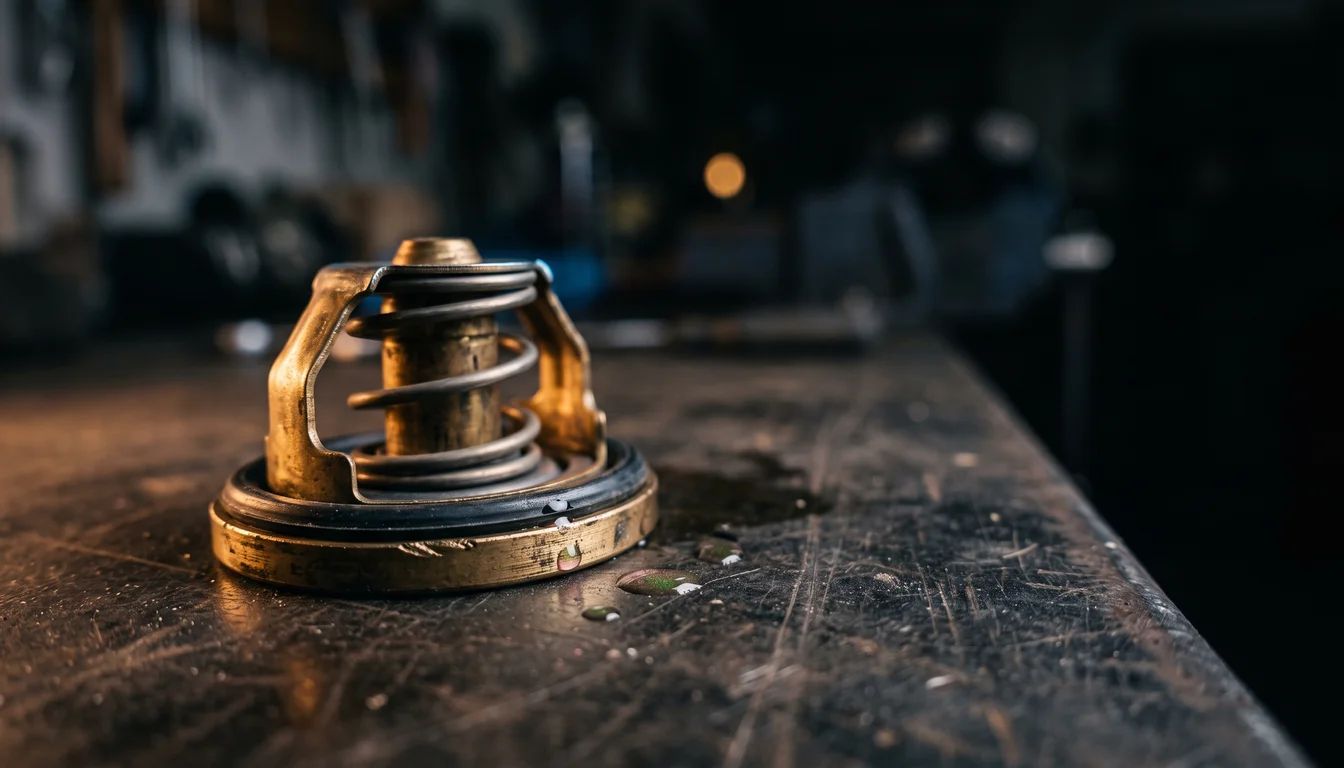
- thermostat and its housing seal; an OE-specification thermostat, not a “cooler” one
- expansion tank and its cap (the cap is a pressure valve)
- upper and lower radiator hoses, heater hoses, and the expansion tank vent and overflow hoses
- every hose clamp
- coolant (see below)
Replace if worn or old:
- radiator: weeping at the tank seams, discoloured plastic tanks, or simply its age
- viscous fan clutch and fan blade (check for cracks at the blade roots)
- fan shroud, if cracked
- coolant temperature sensors, if the gauge is erratic or the engine runs badly when cold
Part numbers: look them up by VIN on RealOEM under Engine → Water pump / Thermostat and Radiator. Several part numbers that circulate online for “the E36” actually belong to other models or engines, so check each one against your car.
Coolant: BMW specifies a 50/50 mix of distilled water and phosphate- and nitrate-free ethylene-glycol antifreeze. Use genuine BMW coolant or one that meets BMW’s specification. Bentley warns that other antifreeze types can form deposits that clog the system, and that tap water causes corrosion.
Key figures (Bentley)
| Item | Value |
|---|---|
| Cooling system capacity, M50/M52 | 10 litres |
| Cooling system capacity, S50US/S52US | 10.5 litres |
| Radiator test pressure | 1.5 bar |
| Radiator cap test pressure | 2 bar |
| Pressure test: allowable drop | no more than 0.1 bar in two minutes |
| Fastener | Torque |
|---|---|
| Water pump to timing cover, M6 / M8 | 10 Nm / 22 Nm |
| Water pump pulley | 10 Nm |
| Thermostat housing cover | 10 Nm |
| Radiator fan (viscous clutch) to water pump | 40 Nm, left-hand thread |
| Fan to viscous clutch | 10 Nm |
| Radiator drain plug | 2–3 Nm |
| Engine block drain plug | 25 Nm, new sealing washer |
| Bleed screw on thermostat housing | 8 Nm |
Replacement order
1. Drain
With the engine cold, set the heater to full warm. Remove the radiator drain plug, then the engine block drain plug on the exhaust side of the block, towards the rear. Expect around 10 litres.
2. Fan and shroud
The fan nut is 32 mm with a left-hand thread: turn the wrench sharply clockwise (viewed from the front) to loosen it. A pulley holder (BMW tool 11 5 030) stops the pump turning. Remove the shroud’s expansion rivets and take the fan and shroud out together. Store the fan clutch upright, as fitted, so it doesn’t lose its fluid.
3. Drive belt
Release the belt tensioner on the six-cylinder by prying off its cover and levering it clockwise (facing the engine), then slip the belt off.
4. Water pump
The pump is mounted on the front of the timing cover. Remove its bolts, clean the mating face completely, and fit the new pump with a new gasket. Tighten M6 bolts to 10 Nm and M8 to 22 Nm.
5. Thermostat
The thermostat sits in a housing at the front of the cylinder head. Note its orientation before removing it. Fit the new one so its arrow or vent hole is at the top, with a new seal, and tighten the housing cover to 10 Nm. Reconnect any ground wires on the housing bolts.
6. Hoses, tank, radiator
Replace the hoses, the expansion tank and cap, and the radiator if needed. New clamps on every connection.
7. Refill and bleed
Refit both drain plugs with new sealing washers and fill slowly with the 50/50 mix. Then bleed according to your radiator type, as Bentley describes:
- With a bleed screw (on the radiator’s expansion tank; on M3 models also on the thermostat housing):
- With the engine cold, fill the expansion tank to the COLD (KALT) mark.
- Loosen the bleed screw(s).
- Set the heater to full warm and switch the ignition on, without starting the engine.
- Add coolant slowly until it flows from the bleed screws free of air bubbles, then tighten them.
- Run the engine to operating temperature, let it cool, and top up.
- With a separate expansion tank and no bleed screw: the system bleeds itself through the vent hose on the tank. Fill, run to temperature, let it cool and top up.
Trapped air stops coolant circulating properly. If the temperature gauge behaves erratically after the job, bleed again.
Checks after the job
- Pressure test the system cold: it should hold within 0.1 bar for two minutes. Test the cap at 2 bar.
- Check the coolant level cold, against the mark on the expansion tank, for the first few drives.
- Look for weeps at the new hose joints once everything has been hot and cooled down again.
This guide is part of the Projekt 36 M50 Engine series. We’re replacing every cooling component on our M50B25 NV while it’s on the engine stand before installation into our 316i sedan.
→ Related: M43 to M50 Swap Parts List | M50 Common Failure Points