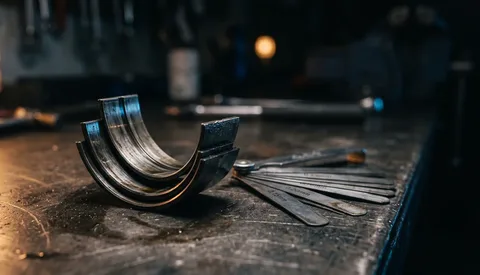
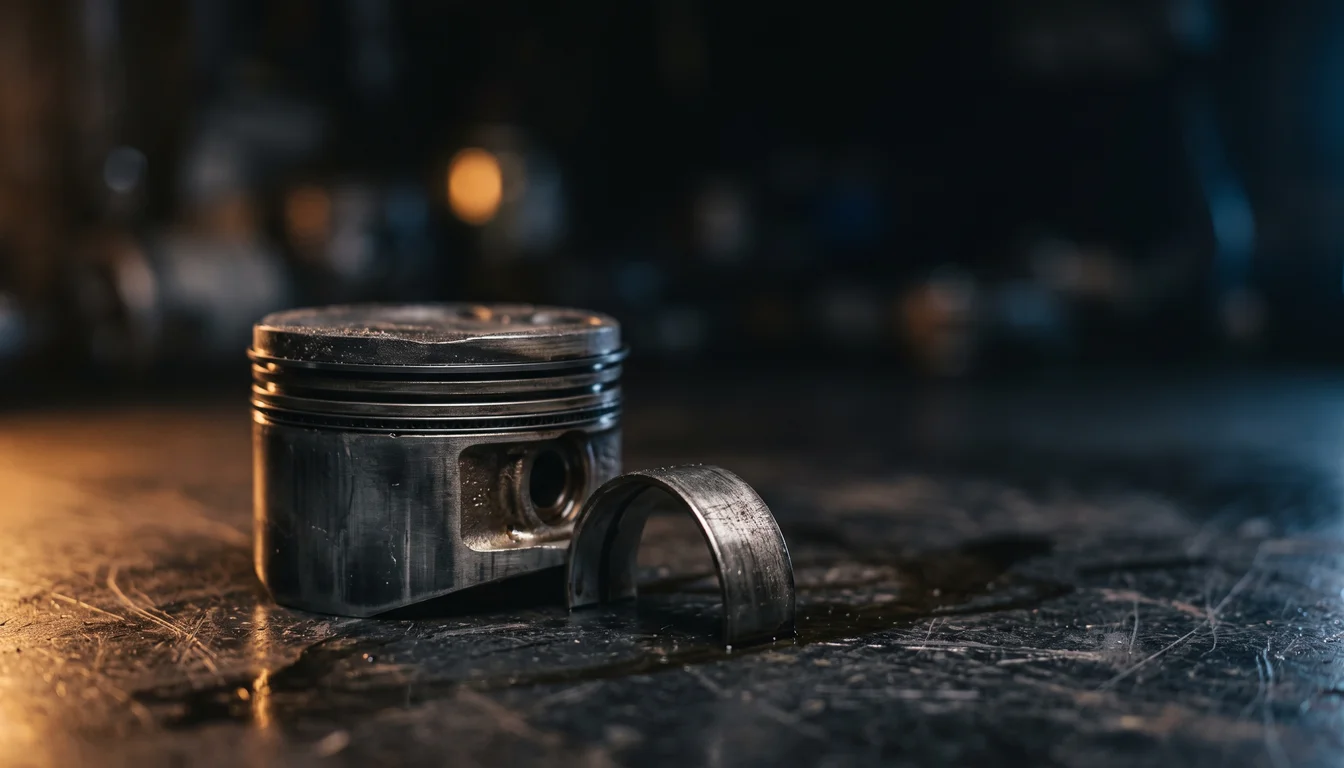
The M50 is a tough engine, but after 25-plus years even a good one may need a full rebuild: worn rings, tired bearings, a head that has seen an overheat. This guide covers the decisions and the order of work, starting from a bare block and head on stands.
Specs policy: Bentley’s E36 manual covers the cylinder head, timing and lubrication, but not the crankshaft, bearings and pistons. Any internal value not confirmed by two independent sources is marked “check the workshop manual” instead of being guessed. A rebuild is exactly where a wrong number costs an engine.
TL;DR
| What: | Inspecting, machining and reassembling an M50 long block. |
| Why: | To restore a worn engine, or to start a swap or performance build on a sound base. |
| Time: | Several full weekends, plus machine-shop lead time. |
| Difficulty: | 5/5: precision measuring tools, a clean workspace and patience. |
Know the engine
| M50B25 | |
|---|---|
| Block | Cast iron |
| Bore × stroke | 84.0 × 75.0 mm |
| Valvetrain | DOHC, 24 valves, hydraulic lifters, two timing chains |
| Variants | Non-VANOS (built up to 8/1992) and VANOS (1993 on) |
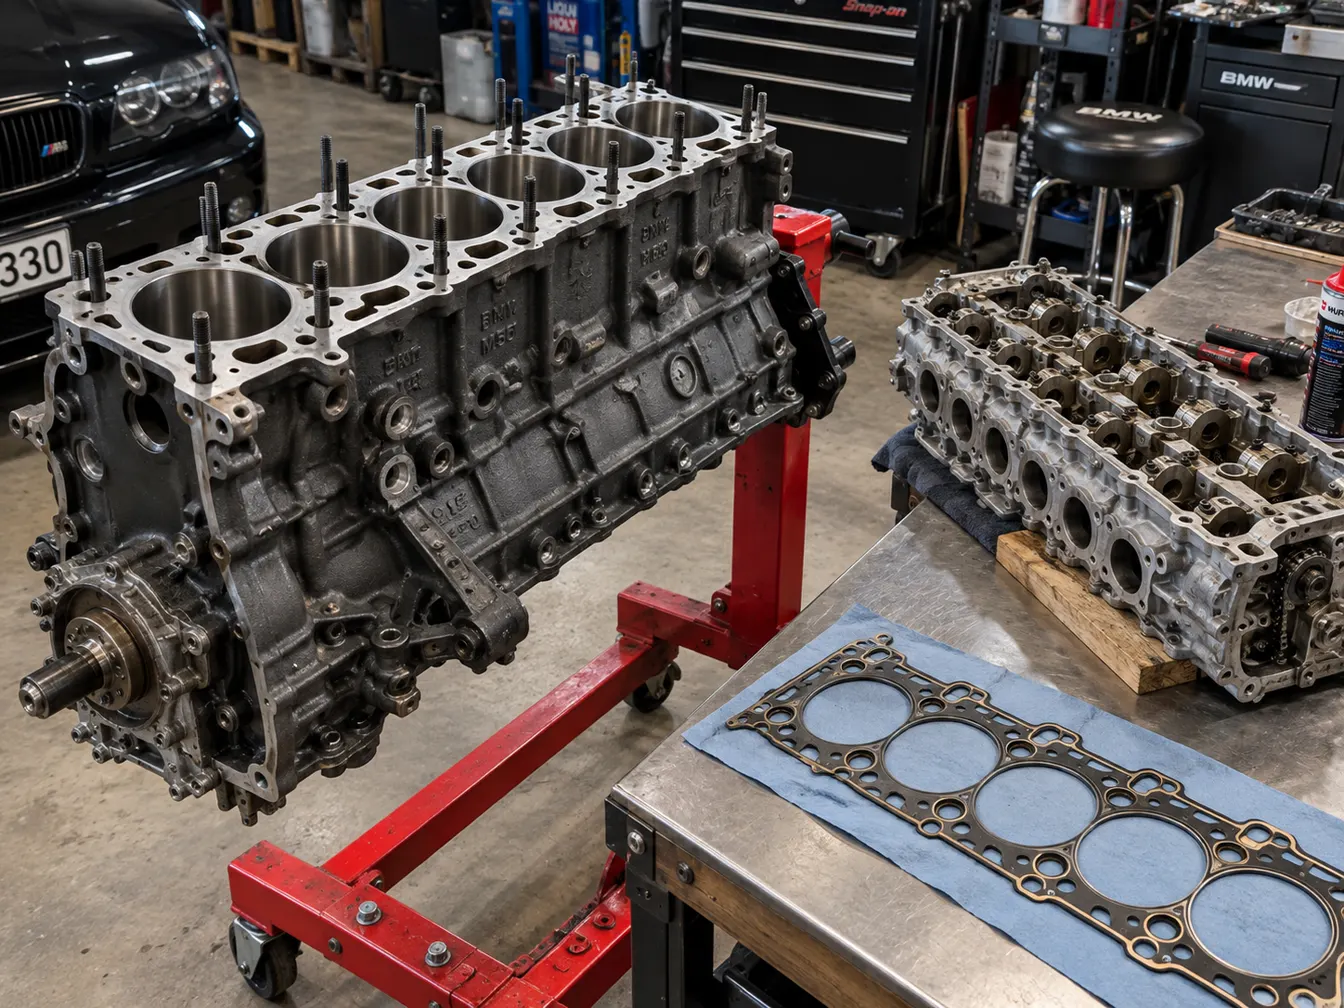
Block: clean, inspect, machine
- Strip it completely: core plugs, oil gallery plugs and dowels out, so the block can be cleaned properly. A machine shop’s hot tank or chemical clean is the standard.
- Inspect for cracks once it’s clean.
- Check the deck with a precision straight edge and feeler gauges. Have the machine shop decide on a skim.
- Measure the bores for wear, out-of-round and taper. That decides between a hone (glaze breaking and a fresh cross-hatch for new rings) and an overbore to the next piston size.
- Main bearing tunnel: if bearings have spun or the crank shows unusual wear, have the shop check the alignment and align-hone if needed.
Have the shop fit new core and gallery plugs before the block comes back.
Rotating assembly
Crankshaft and bearings
Have the journals measured and polished, and ground undersize only if they’re out of spec. Then measure bearing clearance: Plastigage works, a bore gauge and micrometer are better.
- Connecting rod bearing clearance: 0.020–0.055 mm.
- Main bearing clearance: check the workshop manual for your engine.
If a clearance is out of range, correct it with the right bearing size or crank work before going further.
Pistons, rings and rods
- Clean the piston ring grooves completely (a broken old ring makes a good groove scraper) and inspect the pistons and rods.
- Fit new piston rings, and check each ring’s end gap in its own bore against the ring maker’s specification.
- Connecting rod bolts are stretch bolts: fit new ones. Uprated aftermarket rod bolts are a common upgrade for high-rpm or boosted builds; follow their maker’s tightening procedure, not the OE one.
Bottom-end assembly
Use assembly lube on every bearing surface and on the cylinder walls.
-
Fit the upper main shells and the thrust bearing, then lay the crankshaft in.
-
Fit the main caps in their original positions and orientation. The main cap bolts are tightened with torque plus angle: check the workshop manual for the values and sequence.
-
Fit the pistons with a ring compressor, observing their orientation marks.
-
Tighten the connecting rod bolts (new OE bolts, threads and seats lightly oiled):
Stage Value 1 5 Nm 2 20 Nm 3 +70° -
Fit a new rear main seal, pressed in square.
-
Turn the crank by hand after each piston: it should turn smoothly, with resistance rising evenly, not in steps.
Oil pump and pan (Bentley)
| Fastener | Torque |
|---|---|
| Oil pump to block (M8) | 22 Nm |
| Oil pump sprocket nut (M10×1, left-hand thread) | 25 Nm |
| Oil pan, M6 grade 8.8 / 10.9 | 10 / 12 Nm |
| Oil drain plug, M12 / M22 | 25 / 60 Nm |
Cylinder head
- Clean it and pressure-test it for cracks. A cracked head must be replaced.
- Check for warpage with a straight edge. Bentley’s machining limits: no more than 0.3 mm may be removed, and the head must stay at or above 139.7 mm high (140.0 mm new). A machined head needs the 0.3 mm thicker head gasket.
- Valves, guides, seats: check guide wear and the seats before paying for a skim. A valve job, with resurfaced seats and refaced valves, is the norm on a rebuild. Replace all 24 valve stem seals.
- Hydraulic lifters: the M50 has no valve clearances to set. If the camshafts have been out, observe Bentley’s waiting time before turning the engine: 10 minutes at 20 °C or above, 30 minutes at 10–20 °C, 75 minutes at 0–10 °C. Expanded lifters can otherwise hold valves open into the pistons.
VANOS engines: reseal the VANOS while the head is on the bench. See the M50TU VANOS guide.
Head, timing and front of the engine (Bentley)
| Item | Value |
|---|---|
| Head gasket | New, with “OBEN” facing up |
| Cylinder head bolts (new Torx stretch bolts, lightly oiled) | 30 Nm, then +90°, then +90°, in BMW’s sequence |
| Head to lower timing cover | 10 Nm |
| Camshaft bearing caps (M7) | 15 Nm |
| Crankshaft hub (new stretch bolt) | 410 ± 20 Nm |
| Vibration damper to hub (M8) | 22 Nm |
| Flywheel (new bolts) | 105 Nm |
| Cylinder head cover | 10 Nm |
The camshafts have no reassembly timing marks. Timing is set with the crankshaft and camshaft locking tools, then confirmed by turning the engine through two full revolutions and refitting the tools. See the timing chain guide and the head gasket guide for the procedure and the remaining values.
First start
- Prime the oil system before the first start, so the bearings don’t run dry.
- Fill and bleed the cooling system properly (see the cooling system guide).
- Watch oil pressure, temperature and leaks closely during the first run, and follow your ring maker’s break-in advice.