TL;DR
- What: Head gasket replacement on the M50B20/M50B25 inline-six in an E36.
- Why: Coolant loss with no visible leak, white exhaust smoke that doesn’t clear when warm, combustion gas in the coolant, or overheating.
- Time: A long weekend for a careful DIY, plus machine-shop time if the head needs resurfacing.
- Difficulty: 4/5. The camshafts and crankshaft must be locked with BMW special tools (or exact equivalents), and the head bolts need a long, thin Torx E12 socket.
Diagnose before you commit
On a 25-plus-year-old engine, overheating from cooling-system neglect is the usual way a head gasket fails. Typical signs:
- White steam from the exhaust that doesn’t clear after warm-up
- Coolant consumption with no visible leak
- Milky residue under the oil filler cap, meaning coolant in the oil (most likely after a serious overheat)
- Overheating, or pressure building in the cooling system soon after a cold start
Confirm with a combustion leak (block) tester: if the test fluid changes colour when sampling air from the expansion tank, combustion gas is reaching the coolant.
Do a compression test (and ideally a leak-down test) before ordering parts. If one cylinder is clearly lower than the rest, you need to know whether the cause is the gasket or rings and valves; a gasket won’t fix worn rings.
Parts to have on the bench
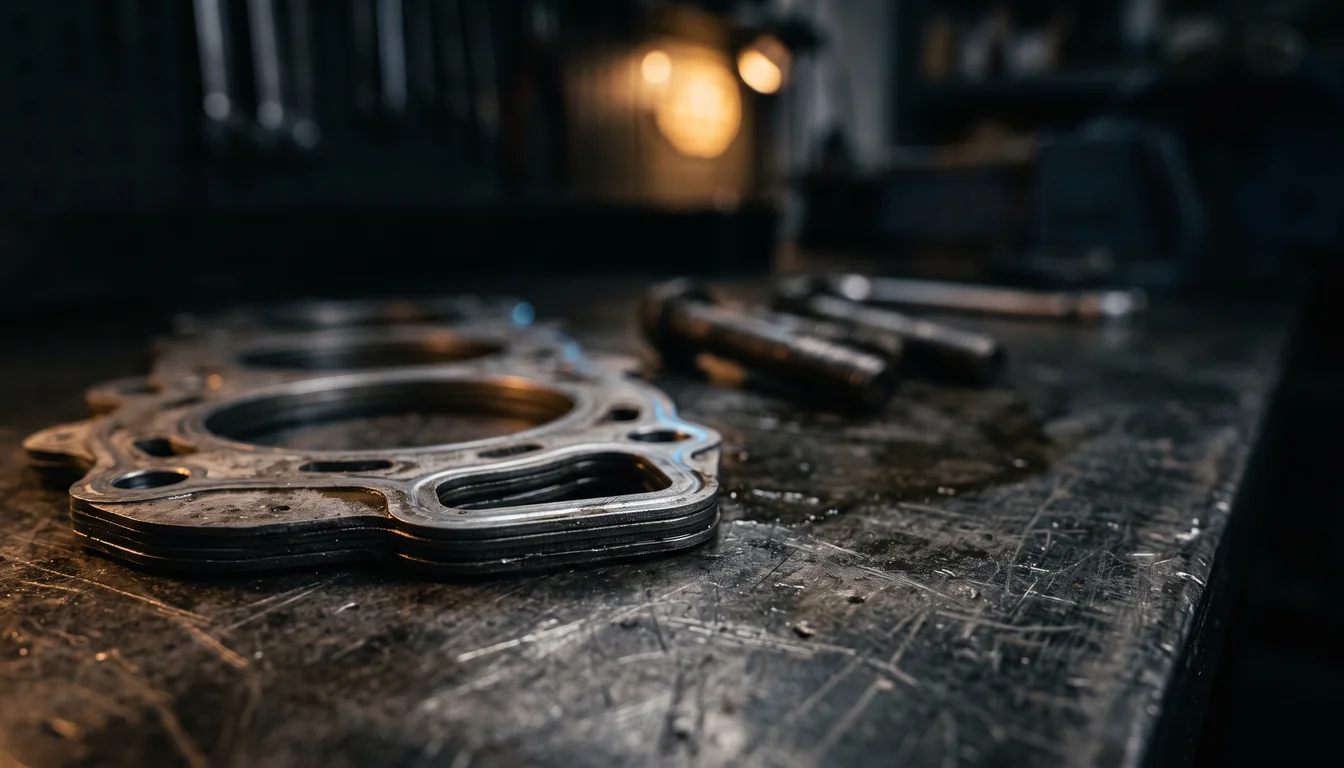
- cylinder head gasket for your engine: the standard one, or the 0.3 mm thicker version if the head is machined
- new cylinder head bolts: Torx stretch bolts that must always be replaced once loosened
- new exhaust manifold-to-front-pipe gaskets and nuts (Bentley says to discard the old nuts)
- cylinder head cover gasket set, intake manifold gaskets, upper timing cover gaskets
- coolant: BMW antifreeze (part 82 14 1 467 704) or an equivalent BMW-approved coolant, mixed 50/50 with distilled water
- while you are in there: thermostat, coolant hoses and a water pump, if they are old
Look up exact gasket and bolt-kit numbers by VIN on RealOEM. They differ between M50B20 and M50B25 and over production years.
Removal: the steps that matter
Follow Bentley or BMW for the full procedure. The order and the critical points:
- Let the engine cool. Disconnect the battery (in the luggage compartment).
- Drain the coolant, including the block drain, which sits on the exhaust side near cylinder 5.
- Remove the front exhaust pipes from the manifolds. The exhaust manifolds come off with the head.
- Remove the intake air ducting, the radiator fan (32 mm nut, left-hand thread) and shroud, the heater hoses at the rear of the head and the alternator cooling duct.
- Remove the cylinder head cover. Note the order of the bolt insulators and gaskets so they go back the same way.
- Remove the throttle housing complete (four corner bolts), without disconnecting its cables and hoses, then the intake manifold: seven nuts on top and two support-bracket bolts below. Stuff clean rags into the open intake ports.
- On VANOS engines, remove the VANOS unit from the front of the head.
- Lock the engine at TDC:
- turn the engine until the cylinder 1 cam lobes face each other and the TDC notch on the lower timing cover lines up with the 0/T mark on the vibration damper;
- lock the crankshaft with tool 11 2 300 through the bellhousing into the flywheel;
- lock the camshafts with tool 11 3 240 on their square rear ends. The sprocket arrows are not accurate enough to set TDC.
- Uncouple the timing chains:
- lock the secondary tensioner down with tool 11 3 292 or stiff wire;
- remove the intake and exhaust sprockets with the secondary chain (wire-tie the sprockets to the chain);
- remove the secondary tensioner, then the primary tensioner (it is under spring pressure: unscrew it slowly) and the chain guide;
- lift the primary sprocket off the exhaust camshaft and hang the chain on wire.
- From here on, the crankshaft must not turn: pistons can hit valves.
- Remove the two head-to-lower-timing-cover bolts (Torx E8).
- Loosen the head bolts in stages in BMW’s loosening sequence, using a thin-walled extended Torx E12 socket (BMW 11 2 250); the bolts sit deep between the camshaft towers. Discard them.
The camshafts stay in the head. If you do remove them on the bench, read the waiting-time note under Installation first.
Inspecting the head and block
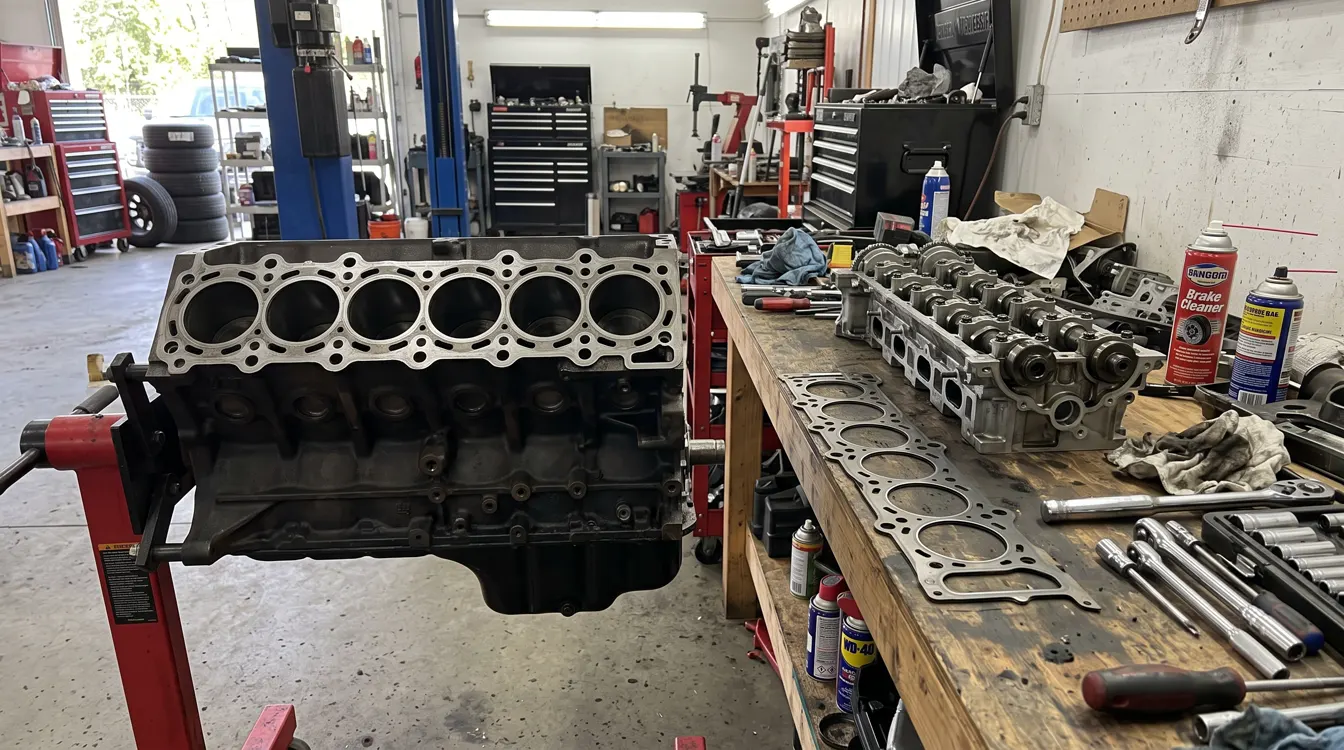
Clean without scratching. Never use a metal scraper or wire brush on the aluminium head or the pistons; use a hard plastic or wooden scraper, or an abrasive disc made for aluminium. Clean the bolt holes of oil and coolant, then run a thread chaser through them.
Check for warpage on the head and block gasket faces with a high-quality straight edge, and inspect the head for cracks. If you suspect a crack you can’t see, have it tested; a cracked head must be replaced.
Machining limits (Bentley):
| Six-cylinder head | |
|---|---|
| Maximum material removal | 0.3 mm |
| Head height, new | 140.0 mm |
| Head height, minimum | 139.7 mm |
Measure the total height before sending the head out. If it has to be machined, fit the 0.3 mm thicker gasket.
Check the valve guides and seats before paying for resurfacing: if they are worn, the head needs more than a skim.
The M50 has hydraulic valve lifters, so there are no valve clearances to set during or after this job.
Installation
- Fit the new gasket on the block with the word “OBEN” facing up, over the two locating dowels.
- Turn the crankshaft back about 45° (counter-clockwise viewed from the front) after removing the crankshaft locking tool. This keeps the pistons clear of the valves while the head goes on. Guide the chain so it doesn’t jam.
- Lower the head with the camshafts still locked at TDC (tool 11 3 240), feeding the primary chain through the opening.
- Lightly oil the new head bolts and fit them with their washers, finger tight. Check that every washer is in place; some are staked to the head. Fit the head-to-lower-timing-cover bolts finger tight.
- Tighten the head bolts in BMW’s tightening sequence (Bentley Fig. 41, M50):
| Stage | Torque / angle |
|---|---|
| 1 | 30 Nm |
| 2 | +90° |
| 3 | +90° |
Then tighten the head-to-lower-timing-cover bolts to 10 Nm. The angle stages do the clamping: don’t substitute a torque figure for them. 6. Return the crankshaft to TDC in the normal direction of rotation and lock it again with 11 2 300, guiding the primary chain. 7. Re-time the chains as described in Bentley’s timing chain procedure (see our M50 timing chain guide for the critical points and torque values). 8. Reassemble the rest in reverse order: intake manifold nuts 15 Nm, exhaust manifold nuts 20 Nm, front pipes to manifolds 30 Nm with new nuts.
If the camshafts were removed: the hydraulic lifters expand while the cams are out. Bentley requires a waiting time after the cams are refitted, before the engine is turned, or open valves can hit pistons:
| Temperature | Wait |
|---|---|
| 20 °C and above | 10 minutes |
| 10–20 °C | 30 minutes |
| 0–10 °C | 75 minutes |
Refill, bleed and first start
- Refill with BMW-approved coolant at 50/50 with distilled water.
- Bleed at the bleed screw on the thermostat housing (8 Nm) until coolant comes out without bubbles, and follow the bleeding procedure for your car’s heater and expansion tank.
- First start: idle to operating temperature while watching the coolant level, the temperature gauge and the exhaust. Check again for leaks once it has cooled.
What’s next
With the head off, the cooling system is the obvious companion job. On VANOS engines, the VANOS unit is already off the engine, which makes it the right moment to reseal it. See the cooling system overhaul for the rest of the cooling refresh.