TL;DR
- What: Reinforcing the parts of the E36 body that crack under high or cyclic loads: the rear subframe (final drive carrier) mounts, the areas around the trailing arm brackets, the front crossmember’s engine mount areas and the shock towers.
- Who needs it: cars that are tracked, drifted or given much more power, and above all cars with firm polyurethane or solid bushings, which pass loads into the body that rubber used to absorb.
- Difficulty: 4/5. Welding on the car means fire safety first, then proper corrosion protection afterwards.
Where E36s crack
- Rear subframe mounts: the body mounting points of the final drive carrier can crack around the mounts under drivetrain loads.
- Trailing arm bracket areas: loads from the rear trailing arm brackets go into the floor; stiff bushings make them harsher.
- Front crossmember engine mount areas: more engine torque means more load on the mount areas.
- Shock and strut towers: the rear shock mounts can tear through, and front towers can deform after hard impacts or very stiff setups.
Inspect before you weld: strip the undercoating around the mounts and look for cracks. A crack must be repaired properly before any plate goes over it.
Rear subframe mount plates
BMW itself lists reinforcement parts for the E36. RealOEM shows 41 11 2 256 497, 41 11 2 256 498 and 41 11 2 256 499 for the E36 (1992–1999). Check the diagram on RealOEM for what each part is and where it goes. Several aftermarket makers sell weld-in plate kits for the same mounts, often in thicker steel and with more coverage.
Before welding:
- The rear subframe, exhaust and driveshaft come out. Bentley’s removal procedure is in the rear subframe guide.
- Remove the fuel tank. Welding near a fuel tank, fuel lines or vapour is how cars burn down.
- Strip paint and undercoating to bare metal around the plates.
Trailing arm bracket areas
Weld-in plates that spread the load around the trailing arm brackets are sold for the E36. They are worth fitting with firm RTABs. See the RTAB guide. The floor here is thin, so weld in short stitches with time to cool between them, to limit heat and distortion.
Front crossmember
The front crossmember comes out of the car, so its engine mount areas can be reinforced on the bench and the crossmember cleaned and painted before refitting. Front subframe bolts are tightened by grade (Bentley): M12 8.8 77 Nm, 10.9 110 Nm, 12.9 105 Nm.
Shock towers
- Rear: a bolt-on reinforcement plate from the BMW Z3 (RealOEM: 51 71 8 413 359, listed for the Z3) is a popular addition under the rear shock mount on the E36. Confirm fitment for your body before buying.
- Front: strut-tower reinforcement plates are available from aftermarket makers. On cars with camber plates, check that the plate suits them.
Welding and rust prevention
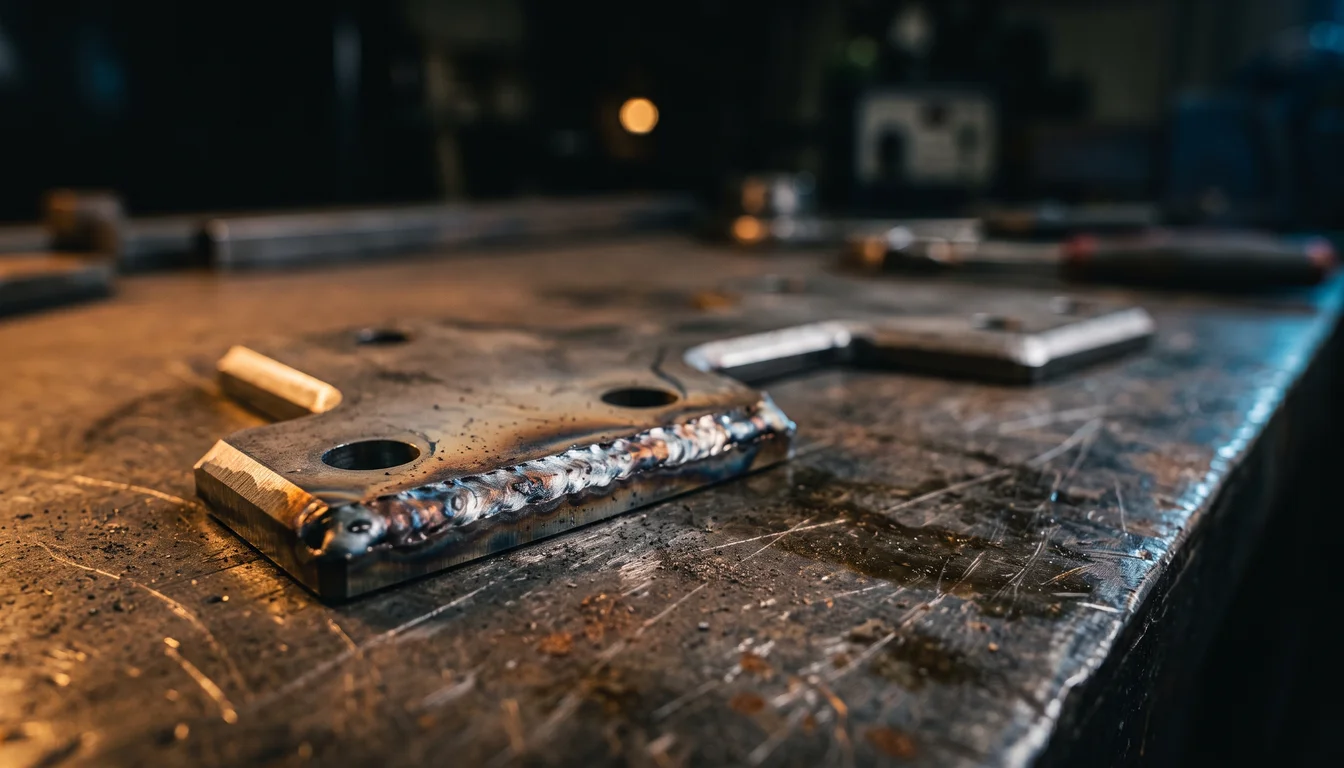
Welding burns off the factory protection on both sides of the metal, including inside closed sections. Restore it properly, or the reinforcement becomes a rust trap:
- Before welding: weld-through zinc primer on bare mating surfaces.
- Welding: MIG, in short stitch welds spread around the plate to control heat. A fire extinguisher at hand, and someone watching for smouldering underseal and soundproofing on the other side.
- After welding: clean the welds, then an epoxy primer on bare metal, seam sealer around the plate edges, and the finish coat.
- Cavities: spray cavity wax into the box sections you heated, once all painting is finished.
If you’re not a confident welder, this is a job for a professional body or fabrication shop.
What’s next
With the body reinforced, firmer bushings can do their job without tearing the car apart. See the suspension refresh and geometry setup guides.