TL;DR
| What: | Replacing the rear trailing arm bushings (RTABs): the front pivot of each rear trailing arm. |
| Why: | Worn RTABs let the rear axle steer itself under power, braking and over bumps: a vague, nervous rear end. |
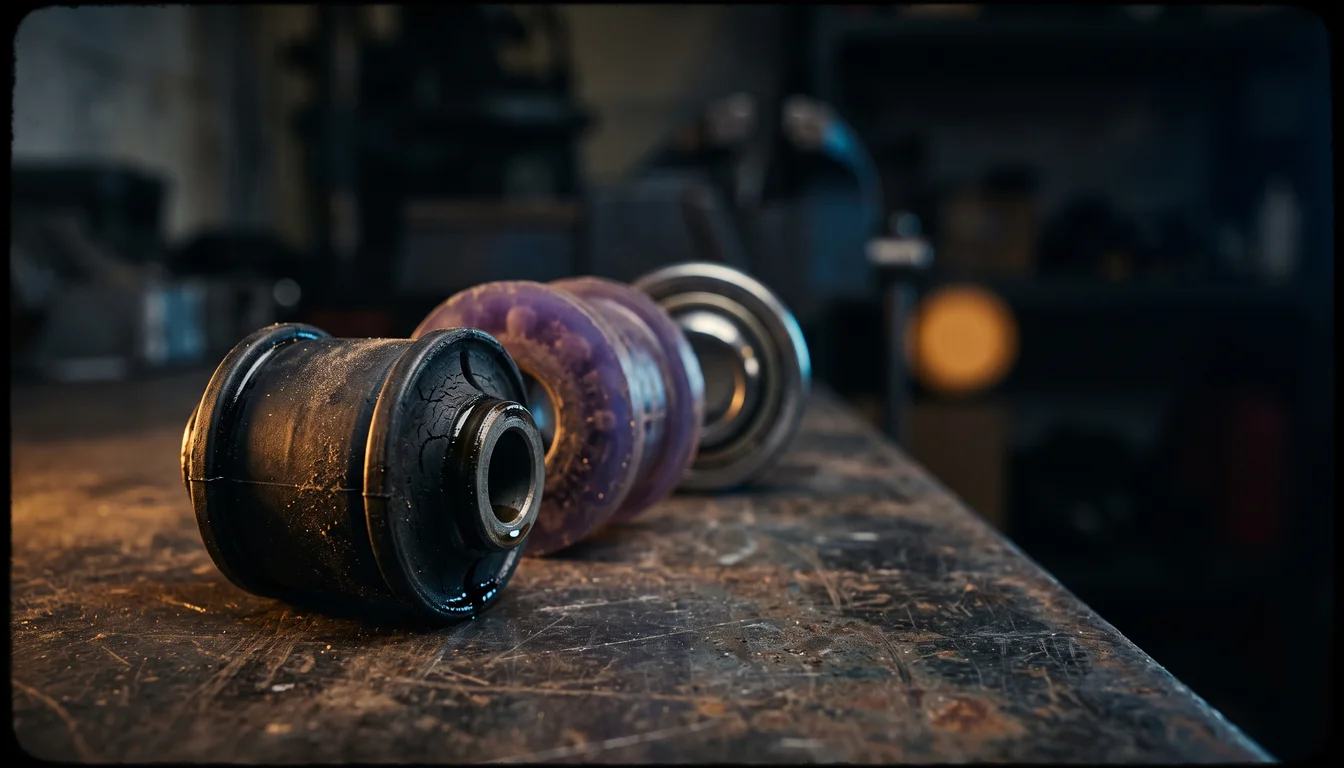
| Choices: | Factory-style rubber, a firmer BMW rubber bushing (the popular “M3/Z4M” upgrade), polyurethane, or spherical bearings. |
| Must-dos: | Press the new bushing to the same protrusion as the old one, set the front bracket with the 8 mm method, tighten at ride height, then have the car aligned. |
Why RTABs matter
Each rear trailing arm pivots on a bushing at its front, in a bracket bolted to the body. The bushing has to let the arm swing up and down while resisting forward, backward and sideways forces. Old rubber cracks and softens, the arm moves where it shouldn’t, and the rear wheels change toe as the load changes.
Your options
Factory-style rubber
The comfortable baseline. On RealOEM, 33 32 6 770 824 is listed across the E36 and many later models.
The firmer BMW rubber bushing (“M3/Z4M RTAB”)
33 32 6 770 817 is listed on RealOEM for the 1995–1999 E36 and for E46 and Z4 models. It’s widely used in the E36 community as a firmer OEM-quality upgrade that keeps rubber’s comfort and quietness. Confirm the fitment for your car on RealOEM before ordering.
Polyurethane
Firmer still: less axle movement and a more connected rear, at the price of more vibration and noise in the cabin. Polyurethane bushings come in different hardness grades: the softer street grades suit a road car; the hardest grades suit track cars.
Spherical bearings
Almost no compliance at all, so the most precise and the harshest option, with the most noise. It suits dedicated track cars; on a road car the noise and harshness usually aren’t worth it.
Replacing the bushing (Bentley)
Bentley’s procedure removes the trailing arm and presses the bushing on a bench. Special tools also exist to press RTABs out and in with the arm in the car, after unbolting the front bracket. Either way, the important points are the same:
- Measure first: record the old bushing’s orientation and how far it protrudes from its boss.
- Press the old bushing out with proper press tools, not a chisel and hammer.
- Lubricate the new bushing (Bentley: Circolight or equivalent) and draw it in to the same protrusion as the old one.
- Align the front bracket before tightening it: Bentley’s method uses an 8 mm bar measured up from the casting mark on the trailing arm.
- Use new self-locking nuts.
- Tighten the bushing bolts with the car at normal loaded ride height, so the rubber isn’t pre-twisted.
- Have the car professionally aligned afterwards.
Torque values (Bentley)
| Fastener | Torque |
|---|---|
| Trailing arm to front bracket | 110 Nm |
| Trailing arm bracket to body | 77 Nm |
| Trailing arm to upper or lower control arm (M12) | 110 Nm |
| Shock absorber to trailing arm (car at loaded ride height) | 77 Nm |
| Road wheel to hub | 100 ± 10 Nm |
While you’re there
With the rear apart, check the rear shock mounts, the control arm bushings and the subframe mounts. See the suspension refresh guide and the rear subframe guide. Firm RTABs pass more load into the body around their brackets, so look at the floor there too. See the chassis reinforcement guide.