TL;DR
| What: | Replacing the bushings of the final drive carrier: the rear subframe that carries the differential and the rear suspension arms. |
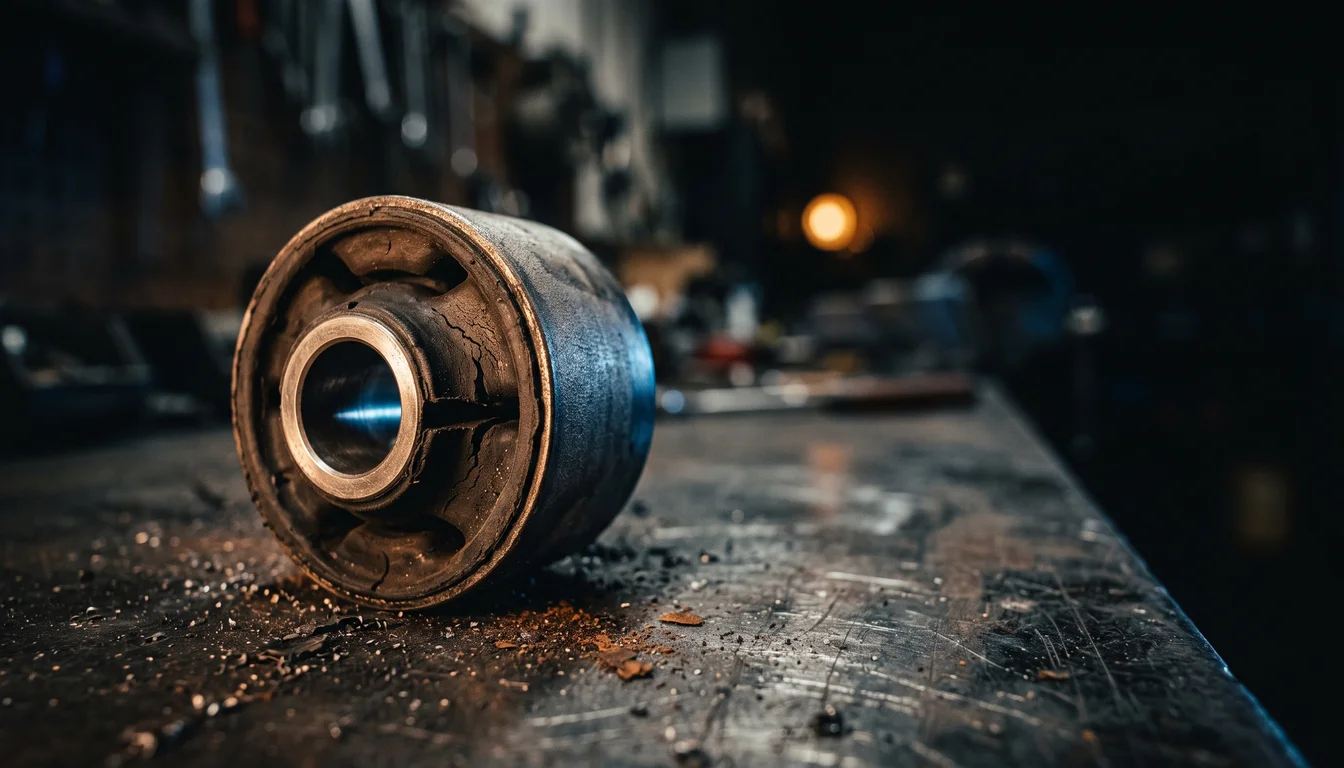
| Why: | Worn carrier bushings let the whole rear axle move: clunks on take-off and gear changes, vagueness, a rear end that feels like it’s steering itself. |
| How: | Bentley’s procedure lowers the carrier on a transmission jack after removing the driveshaft, drive axles and suspension arms. A purpose-made bushing press is needed for the bushings themselves. |
| Difficulty: | 4/5 |
Symptoms
- Clunk from the rear when taking off, changing gear or lifting off
- Rear-end vagueness: the car feels as if the rear steers itself under acceleration or braking
- Wheel hop under hard launches
Worn carrier bushings also let more movement and load reach the body mounting points. On hard-driven cars, inspect the floor around the mounts for cracks while everything is apart.
Bushing choices
| Material | Character | Suits |
|---|---|---|
| Factory-style rubber | Best isolation, factory ride | Daily drivers, restorations |
| Polyurethane | Much less axle movement; more noise and vibration, including more differential whine in the cabin | Fast road use, occasional track |
| Solid (aluminium or similar) | No compliance, harsh and noisy, higher loads into the body | Race and drift cars |
Part numbers depend on the model: look them up by VIN on RealOEM.
Removing the final drive carrier (Bentley)
Work with the car securely on jack stands at structural points, wheels off.
- Driveshaft: remove it (mark its orientation to the flange first).
- Drive axles: remove both.
- Anti-roll bar: disconnect it from the upper control arms and remove its mounts.
- Speedometer connector on the final drive: disconnect it, where fitted.
- Exhaust: remove the rear section. Removing the complete exhaust as one piece may be easier.
- Control arms: remove the upper and lower control arms. Releasing the coil spring means lowering the trailing arm. Bentley recommends a retaining chain between the spring’s bottom coil and the upper control arm, and releasing the spring slowly: a compressed spring can cause injury.
- Support the carrier with a transmission jack, remove the mounting bolts and nuts at the carrier bushing mounts, and lower the final drive and carrier slowly, detaching wiring as you go.
- The final drive can then be unbolted from the carrier.
Bushings
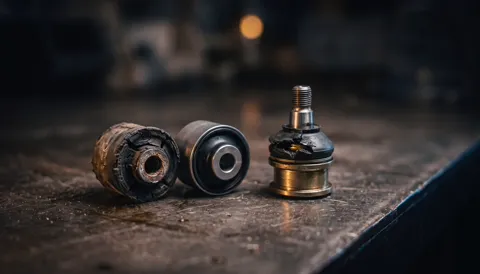
Press the old bushings out and the new ones in with a purpose-made bushing press. Clean the bores first, and press the new bushings in straight. Follow the bushing maker’s instructions: polyurethane bushings usually go in differently from one-piece rubber ones.
While it’s down: reinforcement
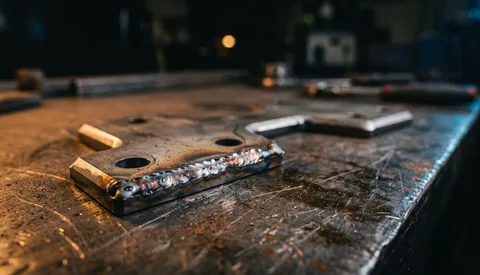
With the carrier out, the body mounting points are fully exposed. This is the moment to inspect them for cracks and, on hard-driven cars, to fit weld-in reinforcement plates. That is a job for a competent welder. See the chassis reinforcement guide.
Installation (Bentley)
- Installation is the reverse of removal.
- Always use new self-locking fasteners.
- Tighten rubber-bushed joints with the car at normal loaded ride height.
- Check and adjust the parking brake.
- Have the car professionally aligned.
| Fastener | Torque |
|---|---|
| Final drive carrier to body | 77 Nm |
| Final drive to final drive carrier (M12), front mount | 95 Nm |
| Final drive to final drive carrier (M12), rear mounts | 77 Nm |
| Upper or lower control arm to final drive carrier (M12) | 77 Nm |
| Upper or lower control arm to trailing arm (M12) | 110 Nm |
| Drive axle to final drive flange, M8 / M10 Torx | 64 / 100 Nm |
| Shock absorber to trailing arm (car at loaded ride height) | 77 Nm |
| Driveshaft to final drive flange, U-joint (M10 ribbed / compressed nut) | 80 / 60 Nm |
| Driveshaft to final drive flange, CV joint (M8) | 32 Nm |
| Road wheel to hub | 100 ± 10 Nm |