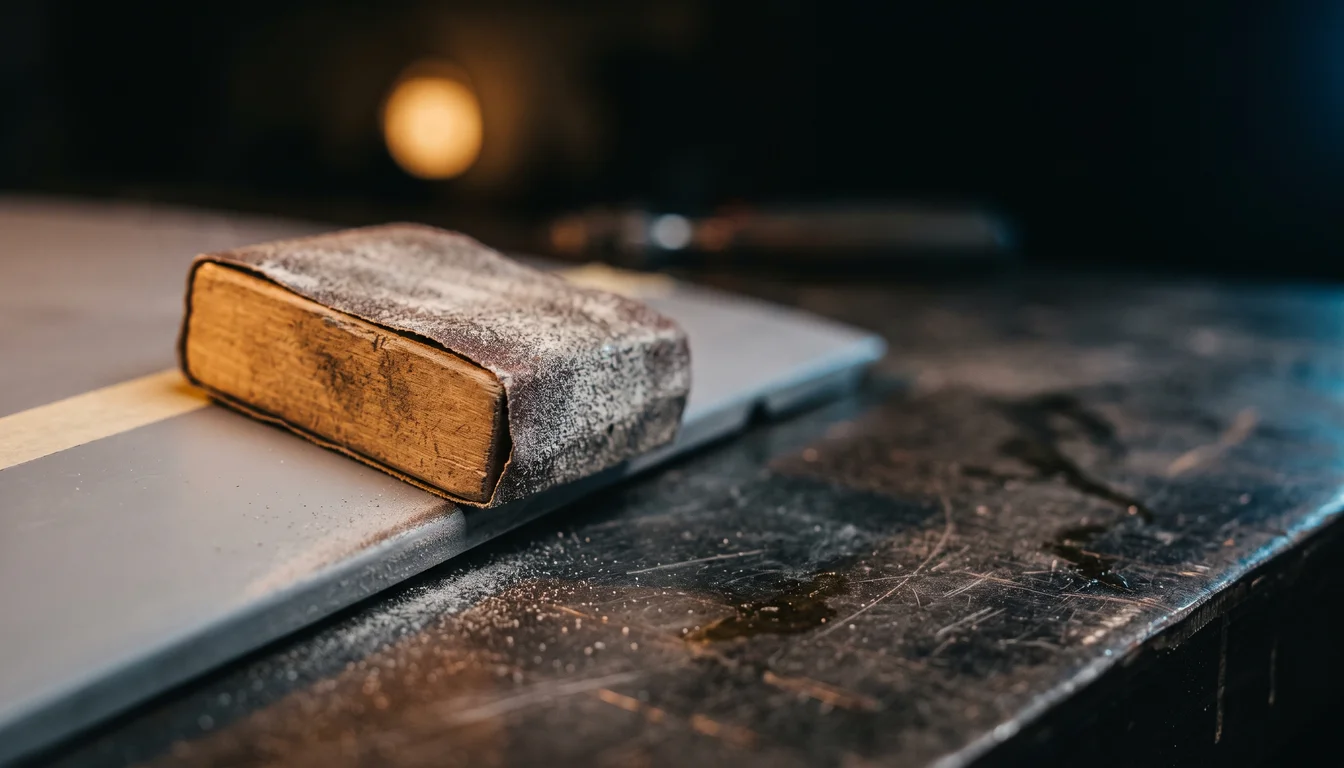
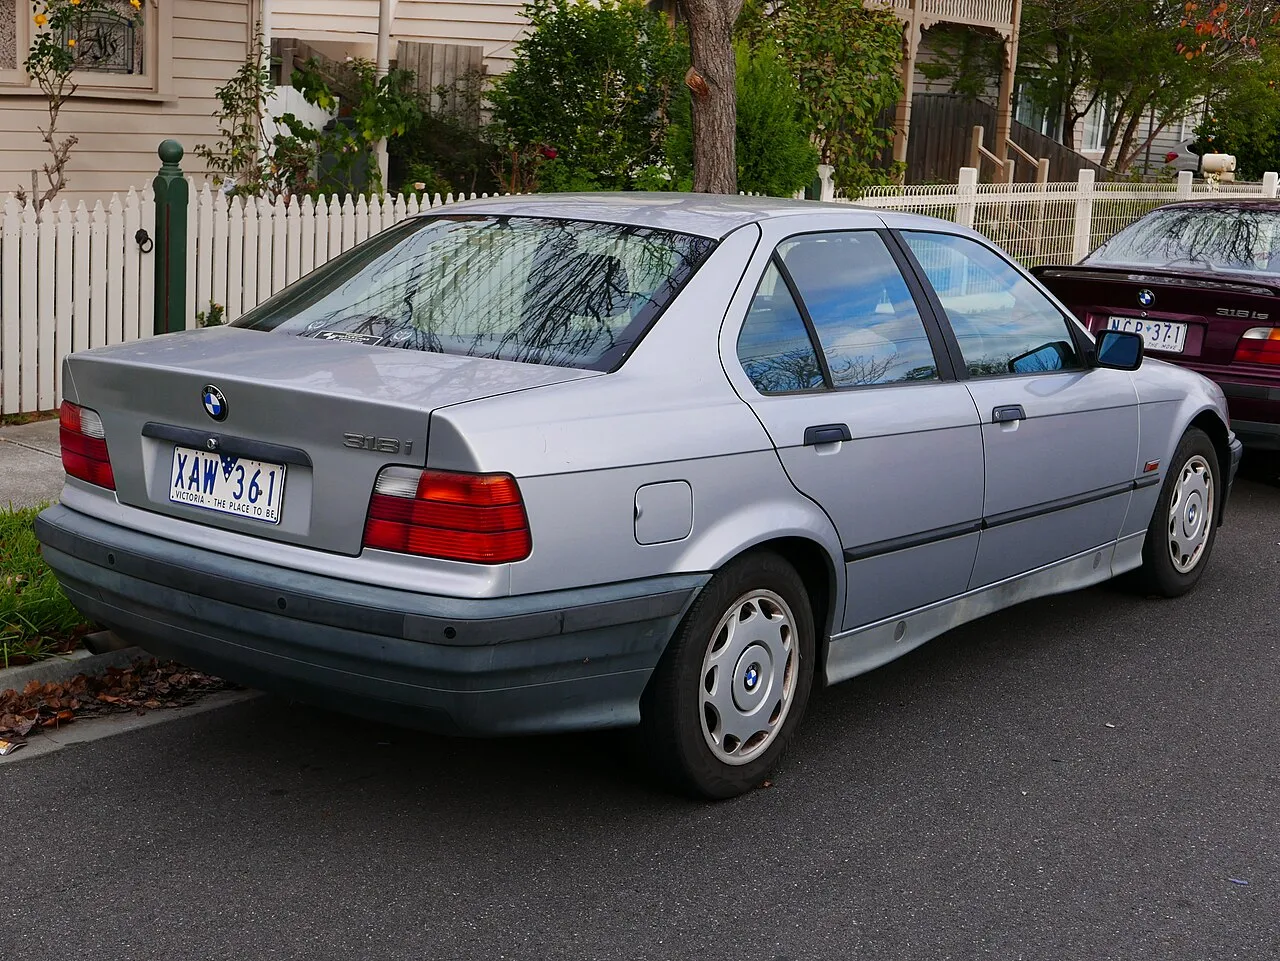
A quality paint job is 90% preparation. Anyone can lay down a few coats of colour, but the deep, ripple-free shine that separates a professional finish from an amateur one is earned long before the spray gun comes out. For an aging platform like the E36, this prep work is even more critical, involving not just sanding but meticulous rust repair and surface perfection.
This isn’t a guide for a quick driveway touch-up. This is about taking a 25-year-old E36 with tired paint, stone chips, and rust bubbles, and turning it into a straight, sealed, primed shell ready for respray. Everything from disassembly to the final wipe-down before it rolls into the booth.
TL;DR
| Topic | Summary |
|---|---|
| What: | A complete guide to stripping, repairing, and priming a BMW E36 for a full respray. |
| Why: | To achieve a professional, long-lasting paint finish by correctly addressing all underlying bodywork issues. |
| Time: | Many weekends: it depends almost entirely on how much rust repair the car needs. |
| Difficulty: | 4/5 - Requires patience, attention to detail, and welding skills for rust repair. |
Safety first
Two-component (2K) primers, clear coats and many paints contain isocyanates. Spraying them without proper protection can cause serious, lasting lung damage. Use a respirator rated for the product and a ventilated booth, and follow the product’s safety data sheet. Sanding dust (filler, old paint) needs a dust mask and extraction as well. If you can’t spray 2K safely at home, do the preparation yourself and have a body shop spray the primer and paint.
Follow your paint system’s technical data sheets for mixing ratios, flash times, film build and sanding grits. They differ between brands, and the numbers in this guide are only typical values.
Stage 1: disassembly and assessment
Before you touch a single piece of sandpaper, you need to strip the car and see what you’re really dealing with. Paint can hide a multitude of sins, especially on the E36’s known weak spots.
What to remove:
- Bumpers (front and rear)
- Lights (headlights, indicators, side markers, tail lights)
- Trim (side mouldings, window trim, kidney grilles, badges)
- Seals (door, window, boot)
- Door handles and mirrors, essential for clean door jambs
- Glass (recommended): removing the windscreen and rear glass is the only way to properly address rust in the window channels. Big step; decide if it’s right for your project.
Expect to break clips. The plastic on a 25-year-old car is brittle. Stock up on common clips beforehand. The side moulding clips are notoriously fragile.
The side moulding clip 51 13 1 960 054 is listed on RealOEM for the E36; look up the other clips for your car in the trim diagrams on RealOEM.
With the car stripped, conduct a thorough inspection. Use a pick or screwdriver to gently probe suspect areas. Here’s where to focus your attention:
- Rear Arches: The absolute number one rust spot. Check the inner and outer lip.
- Sills / Jacking Points: Often crushed and rusty from improper lifting. The plastic covers can trap moisture and hide serious decay.
- Front Wings (Fenders): Behind the wheel well liner at the bottom corner where mud accumulates.
- Boot Floor: Around the battery tray and in the spare wheel well.
- Sunroof Cassette: If equipped, check the drainage channels and the cassette itself for corrosion.
- Windscreen/Rear Window Channels: Hidden rust that will bubble your new paint in months if not addressed.
Document every dent, scratch, and rust spot with photos. This will be your roadmap for the bodywork to come.
Stage 2: stripping to bare metal
Your goal is to remove the old, failing layers of paint and expose the metal and factory e-coat underneath. There are several ways to do this, but for a DIY setting, a Dual Action (DA) sander is your best friend.
- Mechanical Stripping (DA Sander): Start with an aggressive P80 grit disc on your DA sander. Keep the sander flat and constantly moving to avoid gouging the metal. Work panel by panel. The goal is to remove the colour and clear coat, down to the original, stable primer. If the factory primer is intact and not flaking, you can scuff it and prime over it. If you encounter any surface rust or failing primer, you must sand down to bare, shiny metal.
- Chemical Stripping: Effective but incredibly messy and hazardous. Generally not recommended for a full-car strip in a home garage.
- Media Blasting: The fastest and most thorough method, but requires outsourcing to a professional. If your budget allows, blasting the shell is an excellent way to get a perfectly clean start.
Once a panel is stripped, the next step is crucial: degreasing. Paint products are incredibly sensitive to contamination. Silicone, wax, grease, and even oils from your fingers will cause “fisheyes” and adhesion failure.
Use a quality panel wipe/silicone remover . Use the two-towel method: apply the degreaser with one clean microfibre towel and immediately wipe it off with a second, dry, clean microfibre towel. Do not let it evaporate on the surface, as this just re-deposits the contaminants. Degrease every panel before you start any bodywork, and again before priming.
Stage 3: cutting out the rust
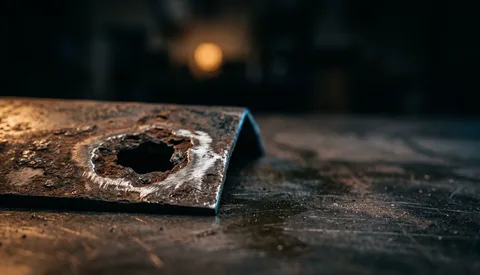
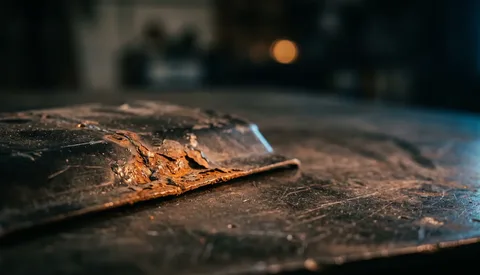
This is where E36 restorations are made or broken. Do not simply grind the rust and fill it with body filler. This is a temporary fix that guarantees the rust will return within a year. The only correct way to repair rust is to cut it out completely.
- Cut Back to Clean Metal: Use a cutting disc on an angle grinder to cut out the affected area. Be aggressive, rust spreads further than you can see. Cut until you are at least an inch into clean, shiny, unpitted metal on all sides.
- Fabricate or Replace: You have two options:
- Fabricate a Patch: If you’re skilled with metal shaping, you can form a new patch panel from fresh sheet steel (typically 1.0mm / 19-gauge).
- Use a Repair Panel: For common areas like the rear arches, aftermarket repair panels are a lifesaver. They provide the correct curvature and save hours of fabrication.
Body-panel makers sell rear arch and sill repair sections for the E36. Check the fit against your car before cutting: you’ll usually need to trim them.
- Weld in the New Panel: Disconnect the battery before any electric welding on the car (Bentley), and remove anything flammable behind the panel. Use a MIG welder to tack the new panel in place, ensuring good fitment and minimal gaps. Then, stitch weld the panel in, alternating sides to avoid warping the metal from excessive heat.
- Grind and Seal: Grind the welds flush. Now, treat the bare metal and the backside of the repair with a high-quality 2K Epoxy Primer. This is non-negotiable. Epoxy primer is a non-porous, direct-to-metal primer that creates a waterproof barrier, providing the best possible corrosion resistance. A product like Mipa EP 100-20 (~€60 for a 1.5L kit) is an excellent choice. Apply two medium coats to all bare metal areas.
Stage 4: body filler and block sanding
With all metalwork complete and sealed in epoxy, it’s time to perfect the surface. Body filler (polyester filler) is used to smooth out the weld seams and fix any dents or imperfections. Used correctly, it’s a stable and permanent part of the repair.
- Application: Mix the filler according to the manufacturer’s instructions. Apply thin, tight coats with a plastic spreader, pushing the filler into the surface to avoid air pockets. Build up the repair slightly higher than the surrounding panel.
- Shaping: Once the filler is firm but not fully cured (about 15-20 minutes, like hard cheese), you can use a “cheese grater” file to quickly shape it and knock down high spots.
- Block Sanding: This is the most critical skill in bodywork. Always use a sanding block. Never sand filler with just your hand; you’ll follow the imperfections instead of levelling them. Start with P80 grit on a hard block to level the filler. Once it’s level with the surrounding metal, switch to P120, and then P180, feathering the edges into the existing panel.
- Finishing Putty: For tiny pinholes or minor scratches, use a fine finishing or glazing putty (e.g., U-Pol Dolphin Glaze). This is much finer than standard filler and is used for the final skim.
Stage 5: primer, guide coat, and the pursuit of flatness
Once all filler work is done and sanded to P180, the entire car needs to be primed. Use a 2K High-Build Primer (also called filler primer). Its job is to fill minor imperfections like sanding scratches and create a uniform, easily sandable surface for the topcoat. Mipa 2K-HS-Füller F54 (~€50 for a 1L kit) is a great option.
Apply 2-3 wet coats over the entire car, allowing for the recommended flash time between coats. Let it cure fully, typically for 24 hours at room temperature.
Now, for the secret to a perfectly straight car: the guide coat. This is a light, misted layer of a contrasting colour (a black aerosol or a dedicated dry powder like 3M Dry Guide Coat) applied over the entire surface of the cured primer.
Using a long sanding block (or a selection of blocks for different contours), begin block sanding the entire car with P320 grit sandpaper. The process is simple:
- The guide coat will be sanded off the high spots first.
- The guide coat will remain in the low spots.
If you see any remaining black specks or lines of guide coat, it means that area is low and needs more attention. You may need to apply more high-build primer to the low spots and repeat the process. This step is tedious but absolutely essential. It’s the only way to guarantee your panels are laser-straight before paint.
Stage 6: final sanding and pre-paint cleaning
With the body perfectly flat and all guide coat removed, it’s time for the final sanding. The goal is to create a fine, uniform scratch pattern for the basecoat to adhere to. The final grit depends on your paint system, but a common progression is:
- Finish block sanding the primer with P400 or P500 dry.
- Switch to wet sanding with P600 or P800 for the final pass. Wet sanding produces a finer, smoother finish and prevents the paper from clogging.
The car is now technically ready, but the final clean is paramount.
- Blow off all sanding dust from every crack and crevice with compressed air.
- Perform the two-towel degreasing method with panel wipe at least twice over the entire car. Change your towels frequently.
- Mask the car completely, covering anything you don’t want painted.
- Just before rolling into the paint booth, use a tack rag to lightly wipe down every surface to pick up any final dust particles.
What’s next?
The shell is rust-free, straight, and sealed. Hand it to a painter or roll it into your own booth. The prep work is what lasts, everything from here is just colour on top of your foundation.