TL;DR
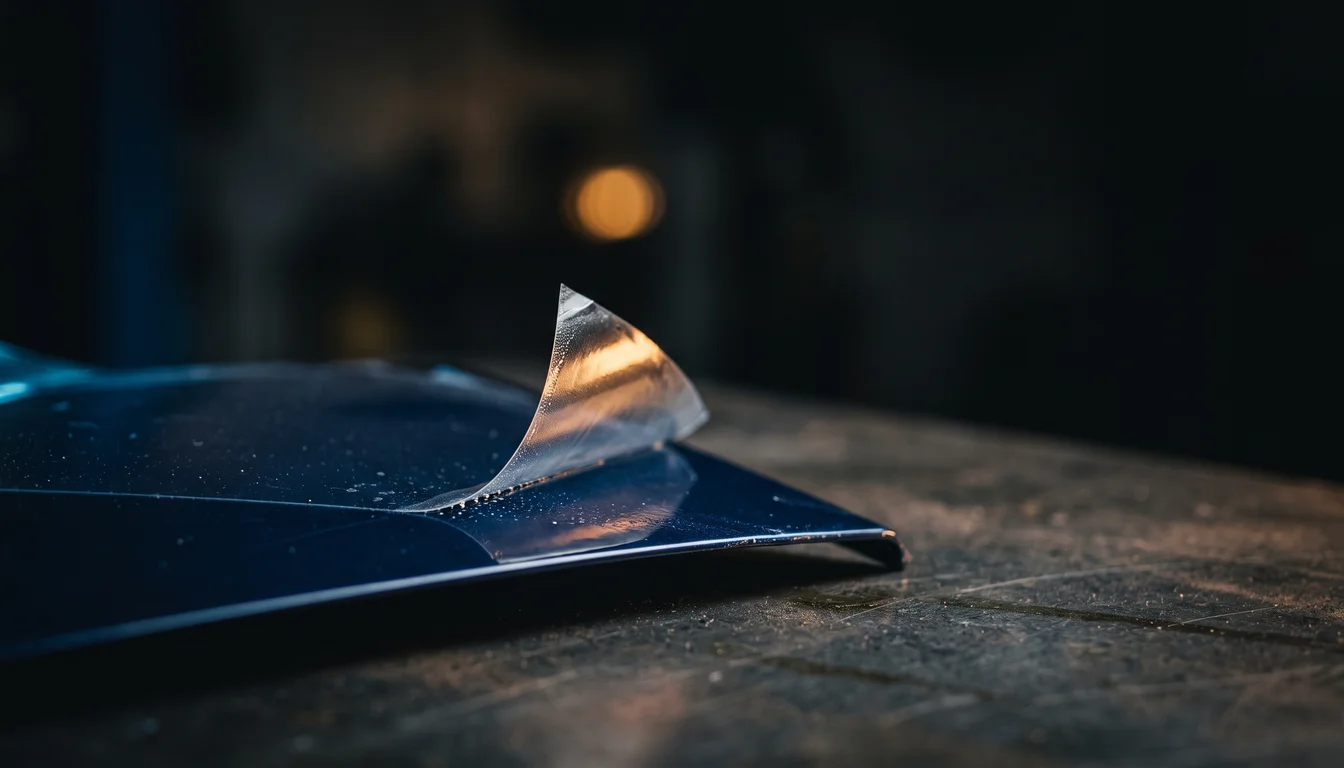
- PPF (paint protection film) is a clear urethane film that takes stone chips instead of the paint.
- On a fresh respray the paint must cure and finish outgassing first. Film applied too early traps solvents, which shows up as bubbles and can damage the finish.
- There is no single safe number of days. Body shops quote anything up to about 90 days, depending on the paint system and conditions. Get the cure time from your painter, for the products they used, and agree it with the PPF installer.
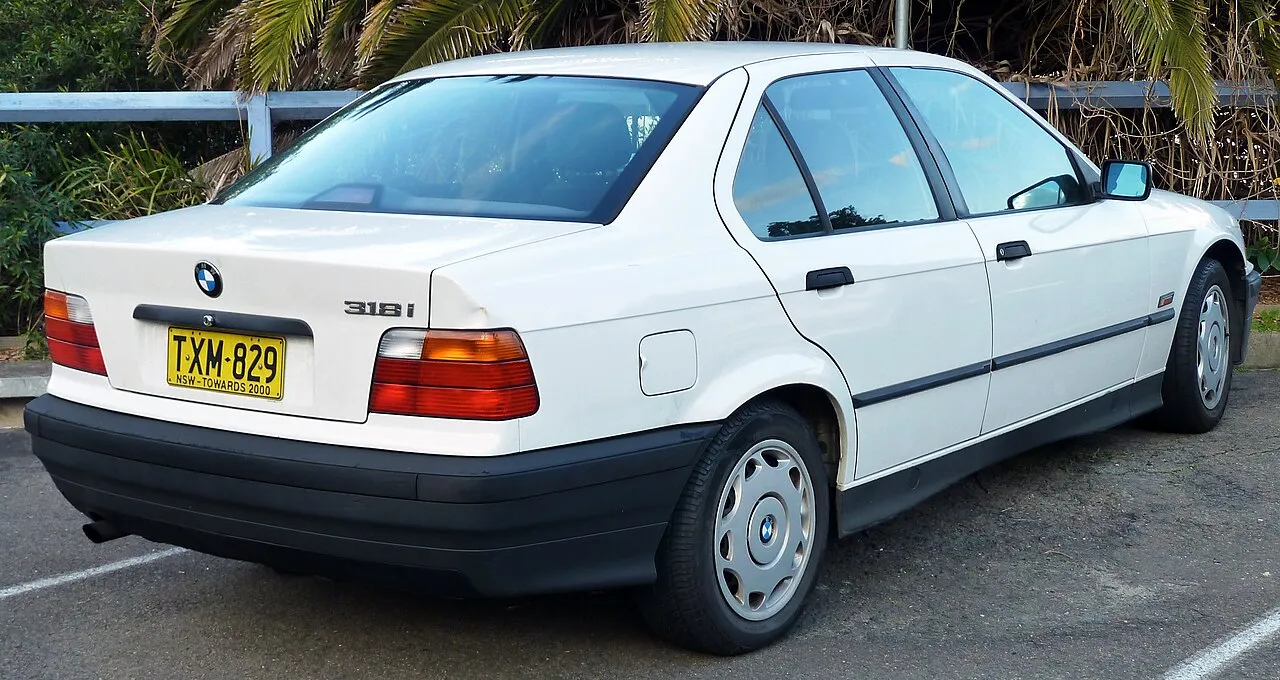
- Projekt 36 plan: dark blue respray, then PPF on the high-impact areas once the painter confirms the paint has cured.
Why PPF matters more on a restored car
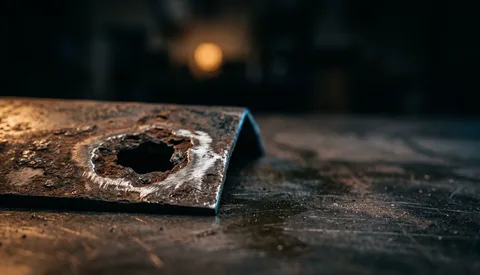
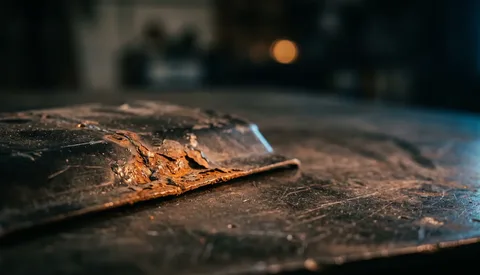
A stone chip on factory paint is a touch-up. On a fresh respray, a chip that goes through to primer can mean repainting the panel to keep the finish even, and dark colours show every flaw. Film on the areas that take the hits protects the money spent on paint.
What PPF is
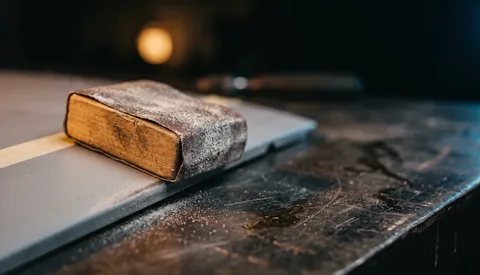
A transparent thermoplastic urethane film with an adhesive layer, applied wet and squeegeed into place. Premium films have a self-healing top coat: light scratches disappear with warmth. Quality film can be removed later without damaging properly cured paint. Lifespan and warranty terms differ between makers: compare them when you get quotes.
Timing: when to apply after fresh paint
Fresh paint keeps releasing solvents for weeks after it feels dry. Film over it traps those solvents.
- Ask your painter for the cure time of the exact products used (primer, base, clear) before PPF or any other sealing product.
- Tell the PPF installer when the car was painted and with what. A good installer will ask anyway, and may refuse a car that’s too fresh.
- Until then: keep the car garaged if you can. If it must be driven, avoid gravel and salted roads, and wash it gently by hand.
- Don’t apply wax or ceramic coatings to the fresh paint in the meantime unless the painter approves it: these also seal the surface, and anything on the paint has to be removed before film goes on.
Coverage choices
| Level | Typical areas | Notes |
|---|---|---|
| Front | Bumper, front of bonnet, front of wings, mirrors, headlights | Covers most stone chips |
| Extended front + sides | Full bonnet and wings, mirrors, sills, area behind the wheels | Adds protection from road spray and grit, which matters in winters with salt |
| Full body | Every painted panel | Best protection; the highest cost |
Pre-cut kits exist for many cars, including the E36, from the large film makers’ design programmes; installers also cut by hand.
DIY or professional?
DIY is realistic for small, flat parts: headlights, door edges, door handle cups. The technique: slip solution (soapy water) on the adhesive side and the paint, position, then squeegee the water out from the centre.
Professional installation is worth it for bonnets, bumpers and wings: large curved panels need experience to avoid stretch marks, lifting edges and knife cuts on the new paint.
Care after application
- Follow the installer’s aftercare: commonly no washing for the first days and no automatic car wash until the film has settled.
- Small water bubbles under the film usually disappear as it cures. Ask the installer about any that stay.
- Light scratches on self-healing film fade in sunshine or with gentle heat.
- Check the edges now and then, especially at the bonnet’s leading edge and the bumper corners.
The Projekt 36 plan
After the dark blue respray, the PPF goes on once the painter confirms the paint has cured, covering:
- Front bumper and bonnet
- Front wings and mirrors
- Sills
- Rear wheel arch edges
The plan is to get quotes from professional installers in the Košice area for the large panels, and to try the headlights and door edges as a DIY job. The results will be documented in the build journal.