TL;DR
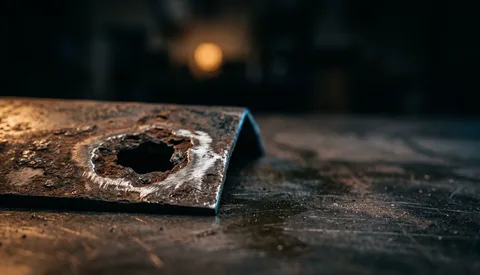
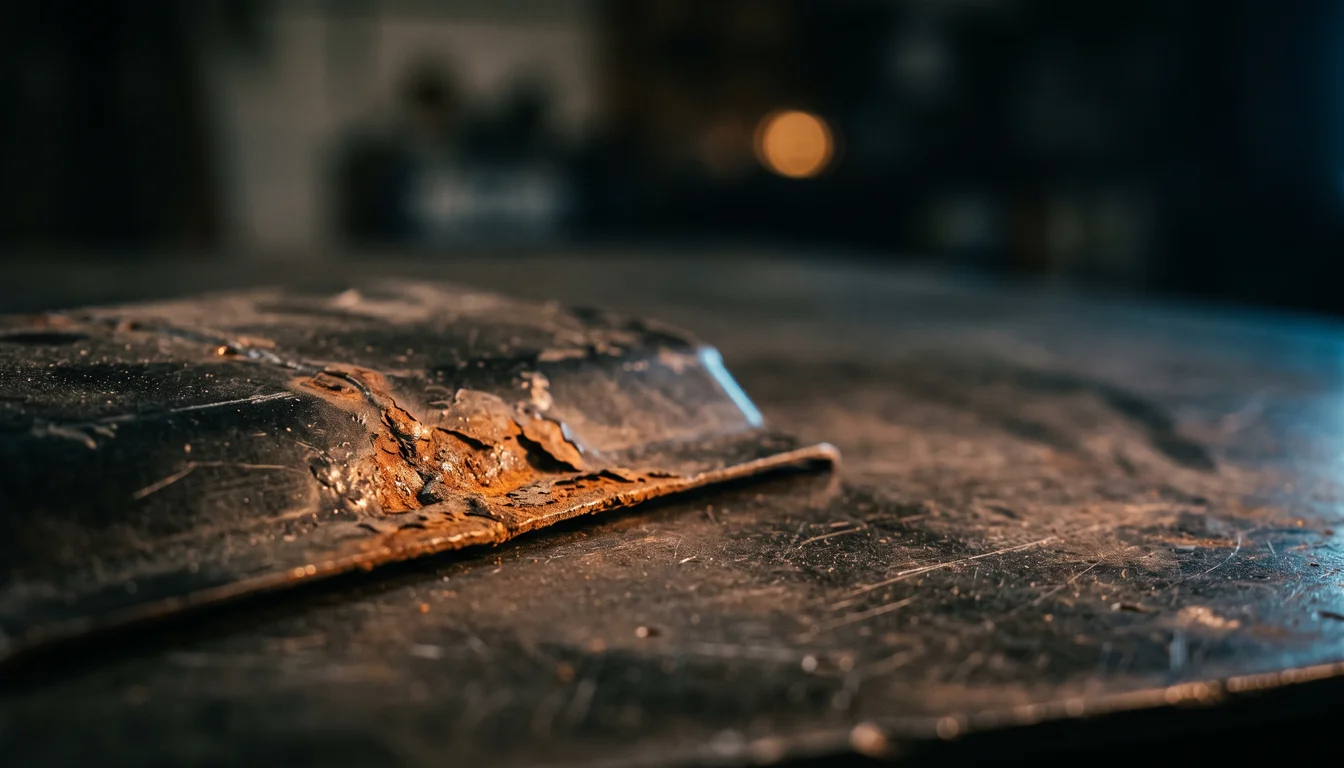
Check the structural areas first: the sills, the jacking points and the rear subframe mounting points (where the problem is as often cracking as rust). Then the common spots: rear wheel arches, front arches, battery tray, boot floor, spare wheel well and door bottoms. Finally the less common ones: windscreen frame, sunroof drains, fuel filler pocket, shock and strut towers, and bulkhead seams. The severity ratings below are a guide to priority, not a measurement.
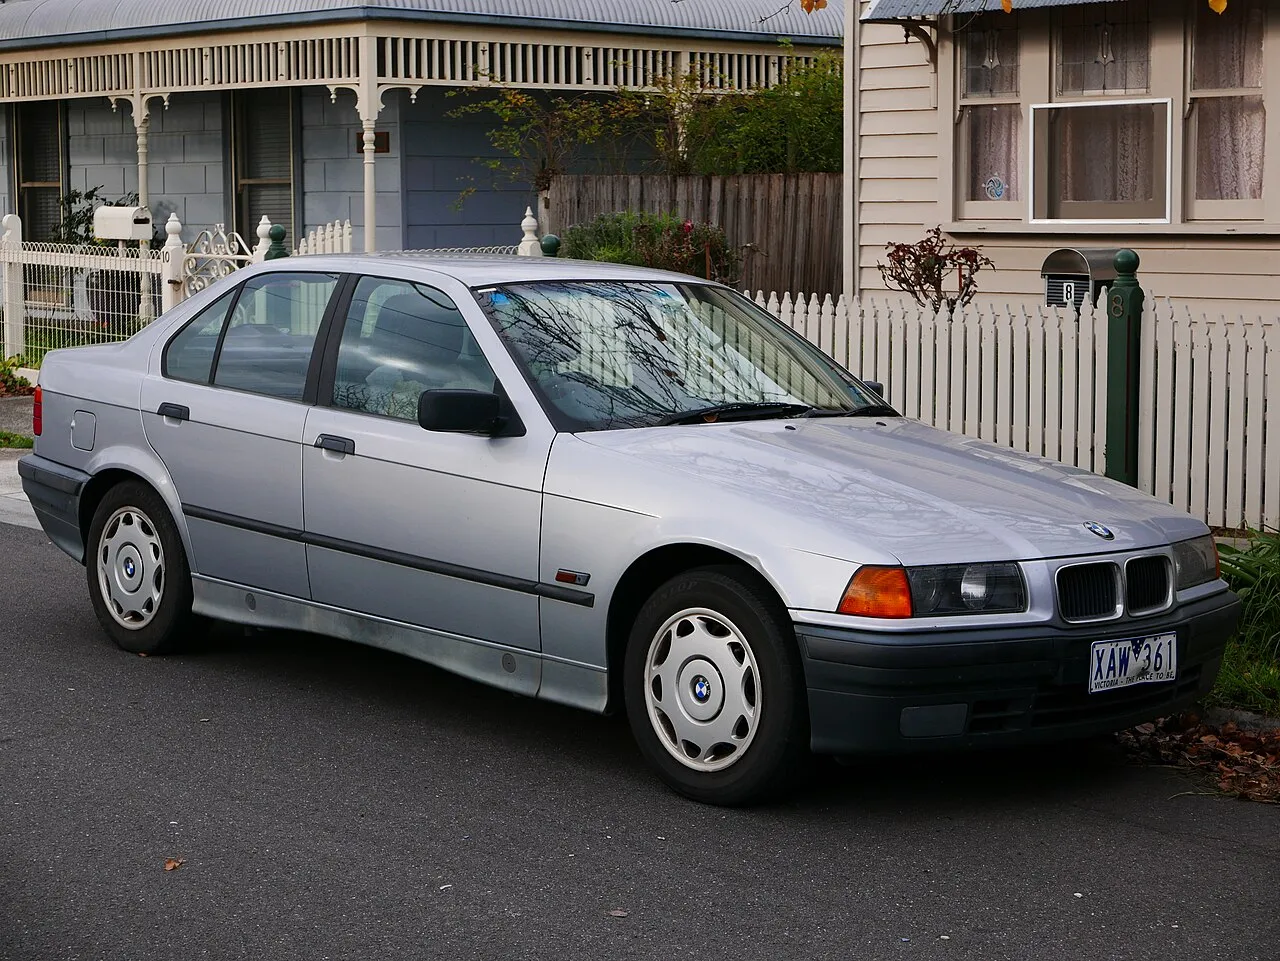
Why E36s rust where they do
The E36 was built between 1990 and 1999. Even the youngest examples are now over 26 years old. BMW’s rust protection in this era was decent by 1990s standards, factory undercoating, galvanized panels in some areas, cavity wax in some sections. But “decent by 1990s standards” means it’s failing by 2026.
The E36 rusts in predictable patterns because of how water, road salt, and debris interact with the body structure. Understanding why each spot rusts helps you inspect more effectively and catch problems before they become structural failures.
Central and Eastern European cars (like the Projekt 36 car in Slovakia) have a mixed reputation. Less coastal salt exposure than UK or Scandinavian cars, but decades of winter road salt and often less fastidious maintenance. Every car needs individual inspection regardless of origin.
Critical / structural rust (check first)
These areas affect the structural integrity of the car. If rust is severe here, the car may not be safe to drive and repair costs escalate dramatically.
1. rear subframe mounting points, severity: 10/10
Where: Underneath the car, where the rear subframe (final drive carrier) bolts to the body.
Why it fails: Two things combine here. Drivetrain and suspension loads can crack the floor around the mounts, especially on hard-driven cars and cars with stiff bushings. Corrosion in the mounting areas weakens the metal further.
What to look for: Cracks radiating from the mounts, flaking or bubbling around them, and movement of the subframe when you lever against it on a lift. Also check the floor around the front brackets of the rear trailing arms.
Why it matters: These points carry the whole rear axle. Damage here has to be repaired properly before the car is driven hard.
Repair difficulty: High. Proper repair means dropping the subframe, cutting out damaged metal, welding in new metal and usually reinforcement plates. See the chassis reinforcement guide and the rear subframe guide.
Reinforcement even without damage: many experienced owners weld in reinforcement plates on cars that will see more power or hard use, even when the mounts look fine.
2. sills / rocker panels, severity: 9/10
Where: The structural sill runs along the bottom of each side of the car, between the front and rear wheel arches. It’s a box-section that forms part of the car’s structural floor.
Why it rusts: Water enters through the door drain holes, through cracks in the seam sealer between the inner and outer sill, and from road spray underneath. The box-section design means water sits inside the sill with no way to drain if the factory drain holes are clogged. Rust works from the inside out, by the time you see bubbling on the outside, the inner sill structure may already be compromised.
What to look for: Bubbling or flaking paint along the bottom edge of the doors. Soft spots when you press on the sill (use a screwdriver, if it goes through, the sill is gone). Look underneath for perforations or heavy scaling on the inner sill panels. Check the seam sealer, if it’s cracked and pulling away, water has been entering for years.
Inspection tip: If your car has plastic sill trim, remove it carefully to see the metal underneath. Many cars look clean from outside but are rotting underneath this cover.
Repair difficulty: Medium-High. Outer sill skin replacement is straightforward metalwork. Full structural sill replacement (inner + outer) requires cutting out the damaged section, fabricating or buying repair panels, and welding them in with the car properly supported on a jig or at minimum on the subframe points. This is one of the most common E36 repair jobs, so repair panels are readily available. Budget 6–12 hours per side.
3. jack points, severity: 8/10
Where: The jacking points on the sills, at each corner. The E36 has plastic jacking pads fitted into the sill there.
Why it rusts: The plastic pads fall out or break over time, and water gets into the mounting hole and the sill behind it. Jacking on the wrong spot also crushes the sill flange and cracks the paint.
What to look for: Missing or broken pads, crushed flanges, rust bubbles around the jacking point. If the area is soft or crumbles, the sill behind it is compromised.
Repair difficulty: Medium. With a sound sill, refit new pads and protect the area. If the jacking point is rusted, repair it with the sill. See the jacking point and sill repair guide.
Common rust areas (expect to find these)
These are found on the majority of E36s over 20 years old. They’re repairable and generally not safety-critical, but ignoring them leads to expensive bodywork later.
4. rear wheel arches, severity: 7/10
Where: The inner lip and lower edge of the rear wheel arch openings, both inside the trunk/wheel well and on the outer quarter panel. The rear of the rear arch is typically the first place an E36 rusts; fitted mud flaps make a good rust trap.
Why it rusts: Stone chips from the tires break through the paint and undercoating. Road salt and water collect in the inner lip where the inner and outer panels overlap. The seam sealer between these panels cracks with age, allowing water between the layers.
What to look for: Bubbling along the lower edge of the wheel arch. Perforation visible from inside the trunk (pull back the carpet and inspect the inner wheel well). Look at the lip where the arch meets the quarter panel, this seam is almost always where it starts.
Repair difficulty: Medium. Outer arch repair panels are available as aftermarket stampings. Inner arch repair requires cutting out the damaged section and welding in new metal. Both sides are commonly affected.
5. front wheel arches, severity: 6/10
Where: The inner fender liner area and the lower front fender edges. Also the area where the fender meets the A-pillar.
Why it rusts: Same mechanism as rear arches, stone chips and road spray. The front arches are actually less prone than the rears on E36s because the front fenders are bolt-on panels (easy to replace) and there’s less trapped moisture. However, the inner splash guards often deteriorate, exposing the inner fender structure.
What to look for: Check behind the front fender liner. Remove the plastic inner liner (held by expanding clips) and inspect the inner fender metal. Look at the bottom of the fender where it meets the sill, this junction traps dirt and moisture.
Repair difficulty: Low-Medium. Front fenders are bolt-on, if the outer fender is rusted, a used or new replacement fender is the easy fix. Inner structure rust requires metalwork.
6. battery tray, severity: 7/10
Where: Bentley places the E36 battery in the right side of the boot; some early four-cylinder cars have it in the engine compartment. Check where yours is: the tray around it is the area to inspect.
Why it rusts: Battery acid. Even sealed batteries can weep small amounts of acid over decades. The acid eats through the paint and undercoating on the battery tray, and once corrosion starts, it spreads to the surrounding structure. This is often invisible until you remove the battery.
What to look for: Remove the battery. Look at the tray surface, any white or green powdery deposits indicate acid damage. Press on the tray, if it flexes or has soft spots, it’s corroded through. Check the drain hole in the tray, if it’s clogged, water pools here too.
Repair difficulty: Medium. The damaged area can be cut out and new metal welded in. Access is reasonable with the battery removed. The challenge is that rust often spreads beyond the tray into the surrounding panels.
7. trunk floor, severity: 6/10
Where: The floor of the trunk, particularly around the spare wheel well, the rear panel below the tail lights, and the seams where the floor meets the wheel arches.
Why it rusts: Water enters through deteriorated trunk seal gaskets, cracked tail light gaskets, or blocked sunroof drains (on equipped models) that overflow into the trunk area. The trunk carpet traps moisture against the metal floor.
What to look for: Pull up the trunk carpet and spare tire cover. Look for damp carpet or standing water first, this tells you water is currently entering. Check the entire floor for bubbling, soft spots, or perforation. Pay special attention to the seams and the area directly below the tail lights.
Repair difficulty: Medium. Floor panel patches are straightforward but time-consuming due to the area involved. The trunk must be completely stripped. Seam sealer replacement is essential after any trunk floor repair.
8. spare wheel well, severity: 5/10
Where: The recessed well in the trunk floor where the spare tire sits.
Why it rusts: Water collects here by gravity. If the trunk floor has any leaks, the spare wheel well is where the water ends up. The spare tire sits on top of standing water, trapping it.
What to look for: Remove the spare tire and inspect the well. Look for standing water, surface rust, or perforation. Check the drain plug at the bottom of the well, if it’s missing or corroded, water has no escape path.
Repair difficulty: Low-Medium. Small perforations can be patched. Large-scale damage may require welding in a new well section. Usually repaired alongside trunk floor work.
9. door bottoms, severity: 5/10
Where: The bottom edge of all four doors, particularly where the outer skin wraps around the bottom of the door frame.
Why it rusts: Doors have drain holes at the bottom that allow water from the window channel to escape. These drain holes clog with dirt, leaves, and debris. When clogged, water sits inside the door and rusts from the inside out. The bottom of the door skin is also vulnerable to stone chips.
What to look for: Run your finger along the bottom edge of each door. Feel for roughness, bubbling, or perforation. Open the door and look at the bottom from below. Check that the drain holes are clear, poke them with a wire if necessary.
Repair difficulty: Low-Medium. Door skins can be repaired with welded patches or, for severe cases, the door can be replaced with a used one. Used E36 doors are still available.
Less common but worth checking
10. windshield frame
The area under the windshield rubber seal, especially the lower corners. Water wicks under the seal as the adhesive and rubber age. You won’t see this without removing the windshield, but if you’re doing a full restoration with a glass-out respray, inspect it carefully.
11. sunroof drain channels (if equipped)
Cars with sunroofs have four drain hoses that carry water from the sunroof channel down through the body pillars. These tubes crack, disconnect, or clog over time, dumping water inside the pillars and into the floor/trunk. This causes rust in areas that are extremely difficult to access. Our build: No sunroof. One less thing to worry about.
12. fuel filler pocket
The recessed area around the fuel filler cap on the right rear quarter panel. Water collects in this pocket and attacks the seam where the filler neck housing meets the quarter panel. Look for bubbling around the edges of the filler door opening.
13. rear shock tower tops
Inside the trunk, the rear shock tower tops can develop rust where moisture collects around the mounting nuts. Pull back the trunk trim and inspect the shock tower plates and surrounding metal.
14. front strut tower tops
Similar to the rear, the front strut towers can develop corrosion around the mounting plate area, especially where water runs down from the cowl area. This is more common on neglected cars. The strut tower metal is structural, corrosion here affects suspension geometry and safety.
15. firewall seams
The seams where the firewall meets the floor pan and inner fender panels. Seam sealer deterioration allows water to wick into these joints. Often only visible from underneath. Check during any underside inspection.
E36 rust inspection checklist (summary)
Use this as a quick reference when inspecting a car. Items marked with ⚠️ are structural/safety-critical.
- ⚠️ Rear subframe mounting points (4 points)
- ⚠️ Sills, both sides, inner and outer (remove covers)
- ⚠️ Jack points, all four corners
- Rear wheel arches, inner lip and outer edge
- Front wheel arches, behind liner
- Battery tray, remove battery to inspect
- Trunk floor, pull carpet, check for moisture
- Spare wheel well, remove spare, check for water
- Door bottoms, all four, feel for perforation
- Windshield frame, lower corners (if glass out)
- Sunroof drains, if equipped, test flow
- Fuel filler pocket, check seams
- Rear shock towers, from inside trunk
- Front strut towers, top plates and surrounding metal
- Firewall seams, from underneath
Tip: Bring a flashlight, a small mirror (for seeing behind panels), a magnet (detects body filler, it won’t stick to filler), and a flat-blade screwdriver (for gently probing suspect areas). If the screwdriver pushes through, you’ve found your answer.
Doing the work yourself
Most E36 rust repair is sheet-metal work: cutting out rotten metal, welding in new metal, then rebuilding the corrosion protection (primer, seam sealer, paint, cavity wax). The materials cost little; the time is the expense. Structural areas (sills, jacking points, subframe mounts) need sound welding. If you’re learning, practise on non-structural panels first, or have a professional do the structural parts.
This guide is part of the Projekt 36 Body & Paint series. Our E36 sedan is a 1994 316i with typical Slovak rust, sills, arches, and battery tray all need attention.